
MarketKing's advertising module allows each vendor to purchase advertising for their own products.
This module can be enabled in MarketKing -> Modules:
In MarketKing -> Vendor Groups, you can control whether each group has access to the advertising feature:
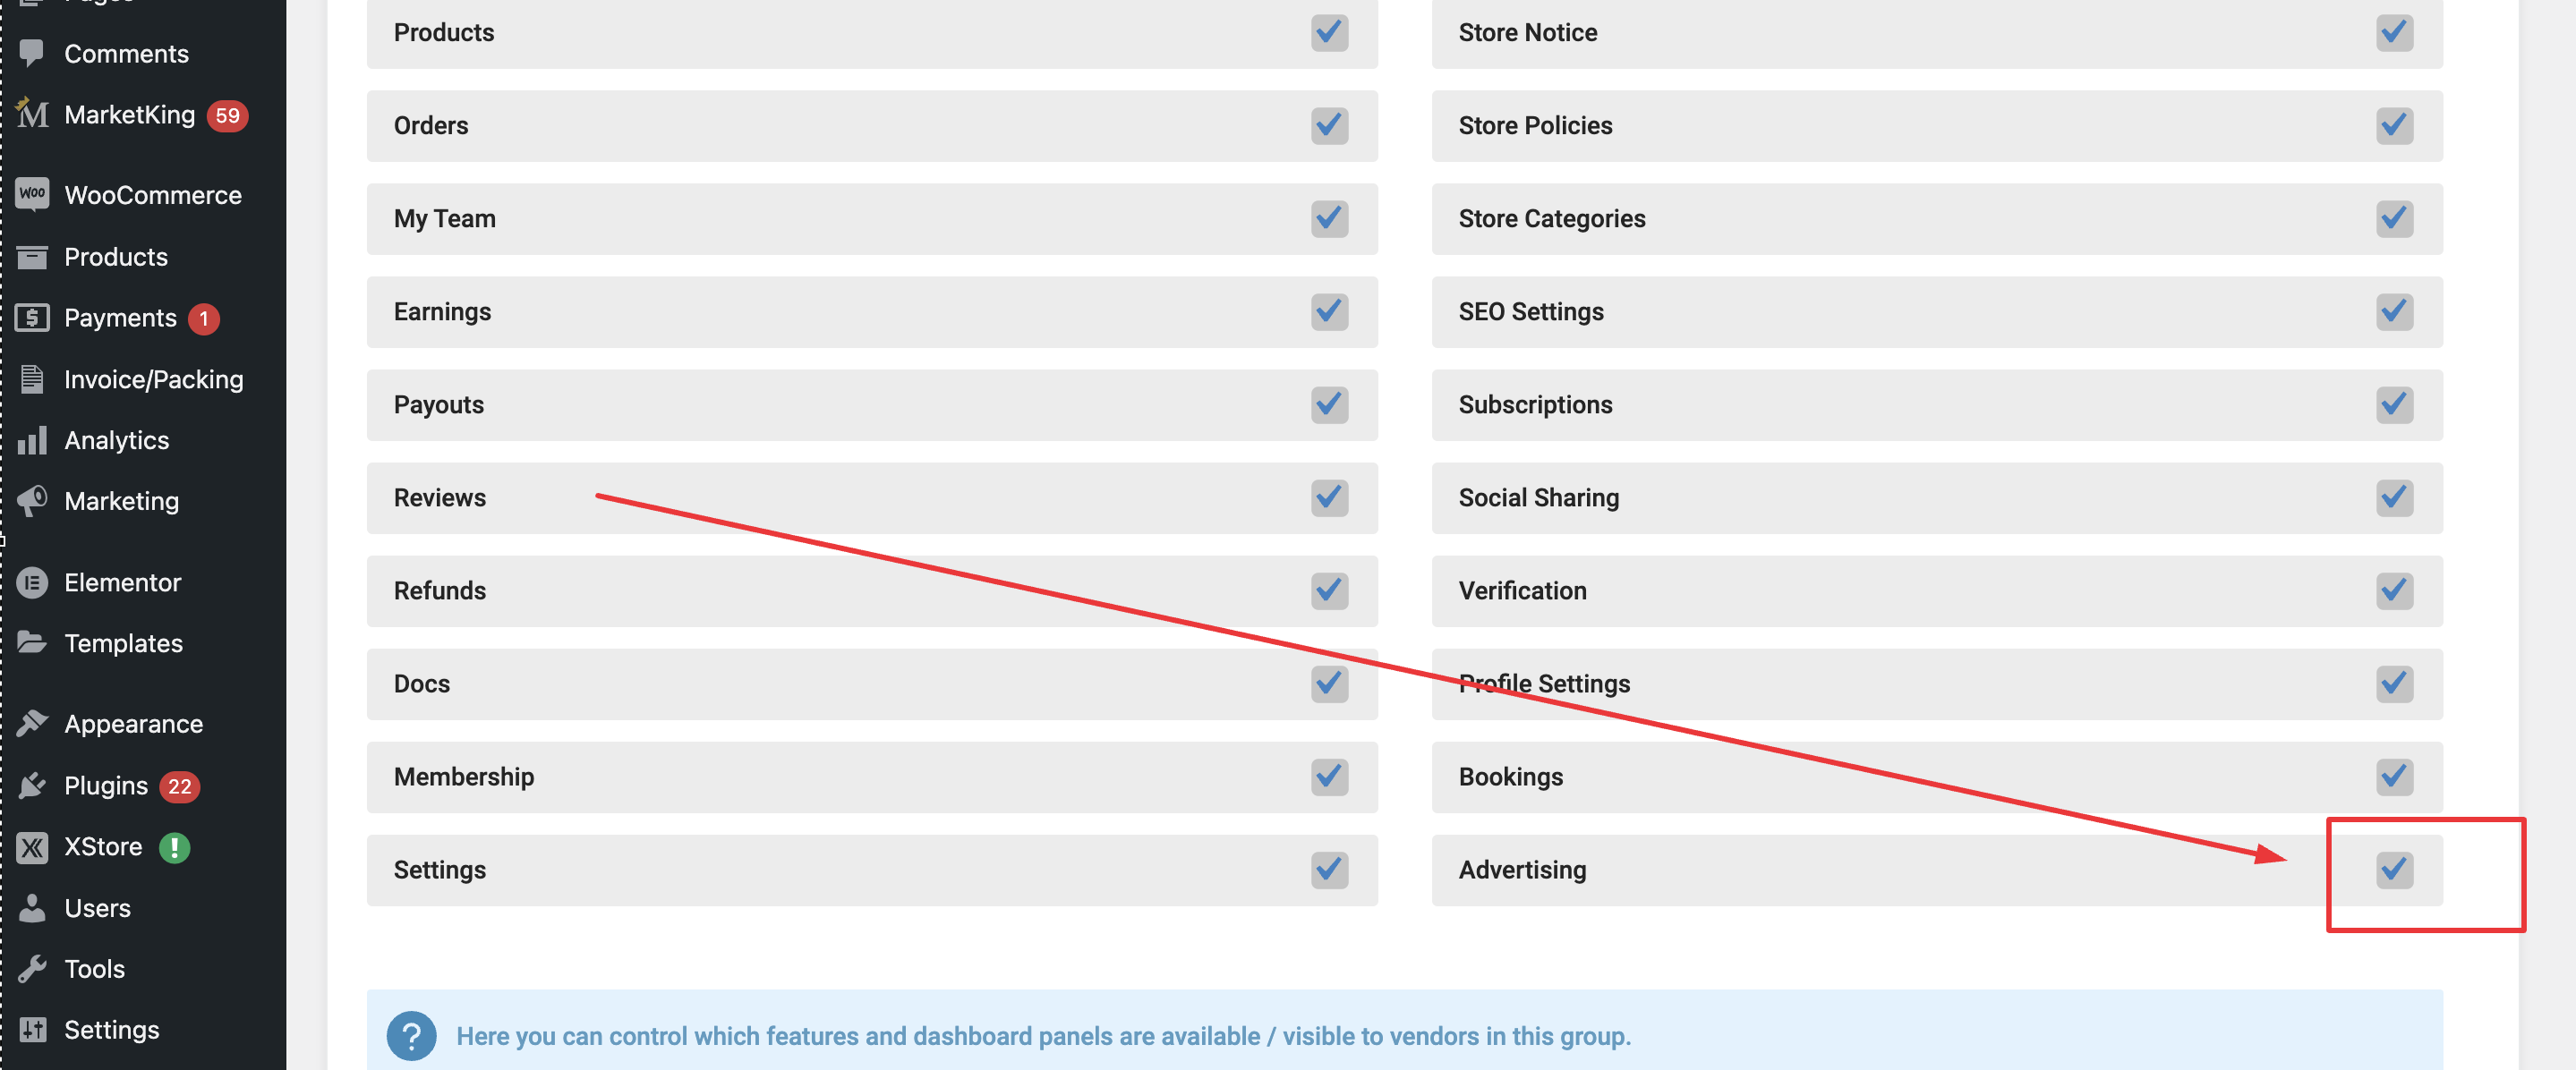
This way you can, for example, disable advertising for a free "new vendors" group but enable it for paid vendor memberships.
Advertising Functionality - Vendor Dashboard
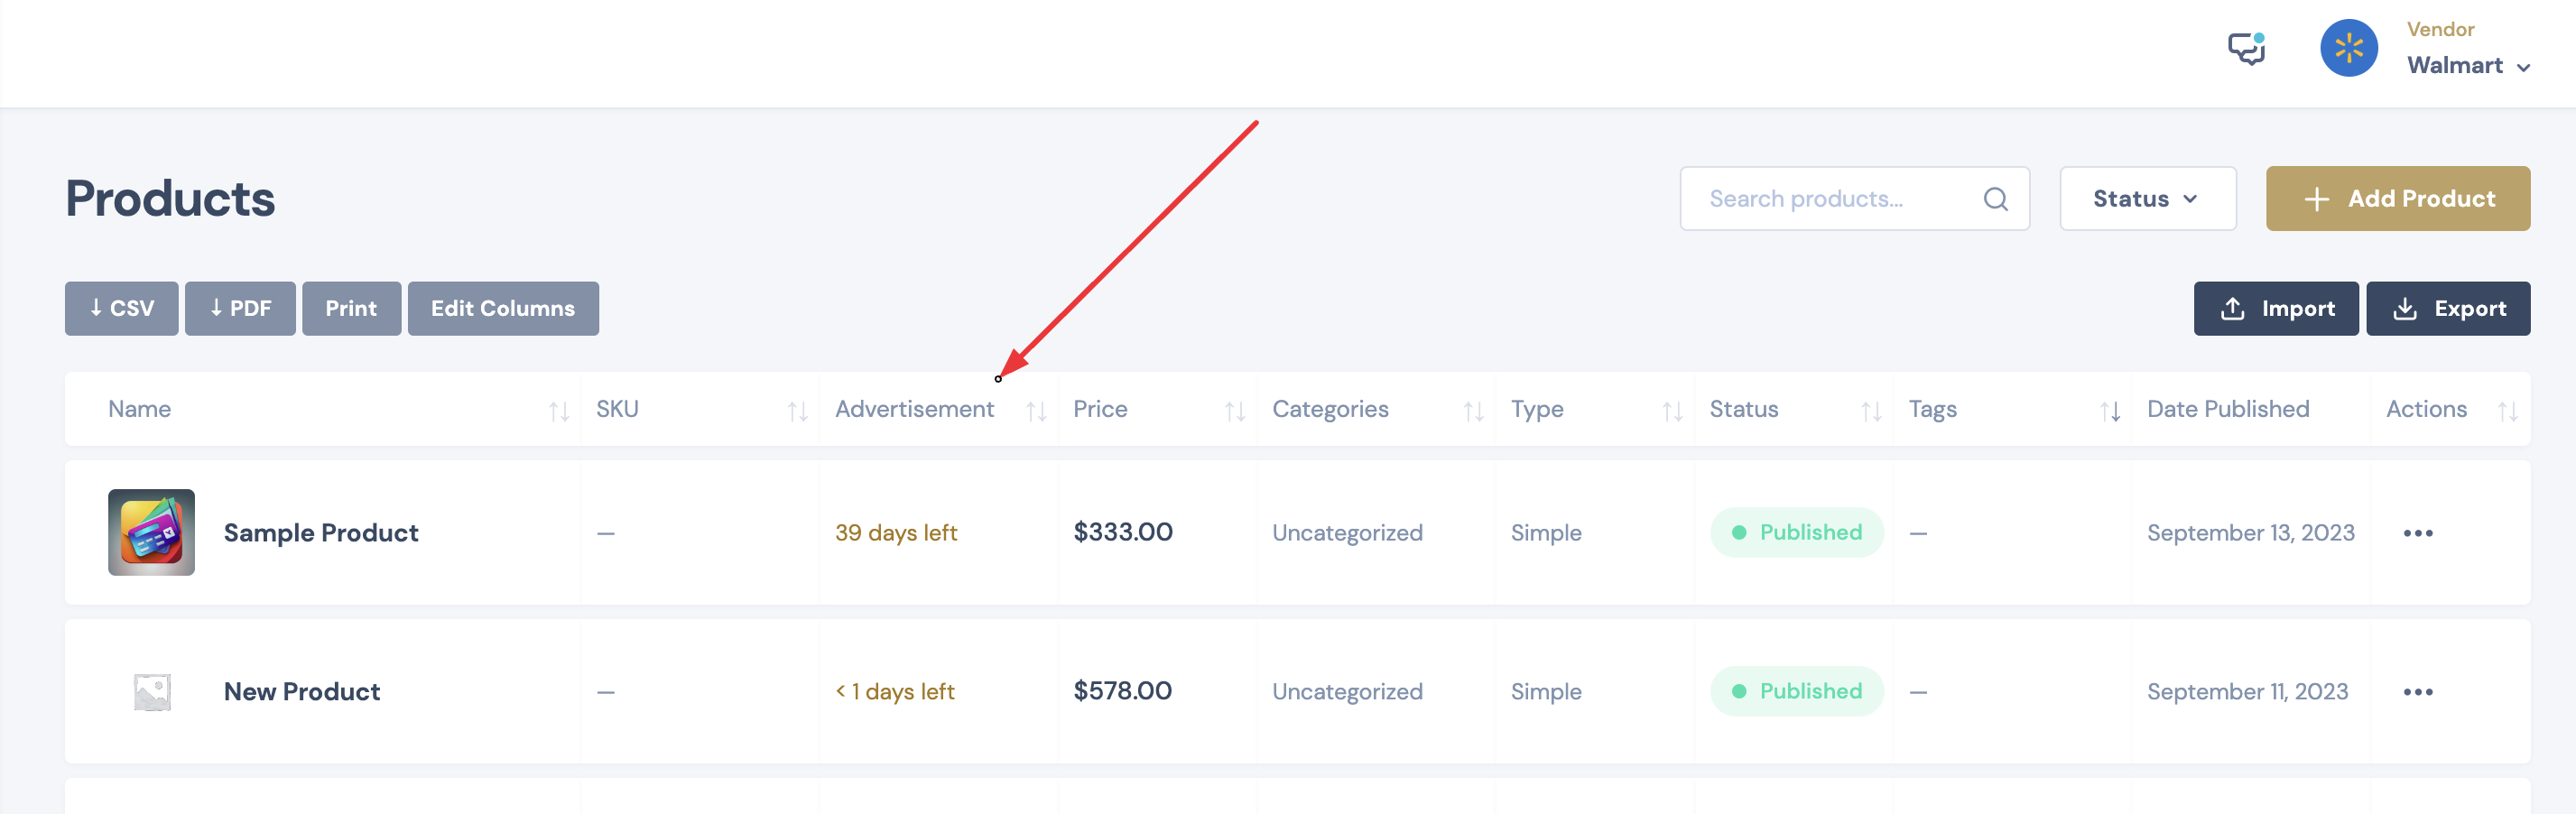
Once enabled for a vendor group, those vendors will see an "Advertisement" column on their Products page. This indicates whether each product is being advertised and how many days of advertising remain:
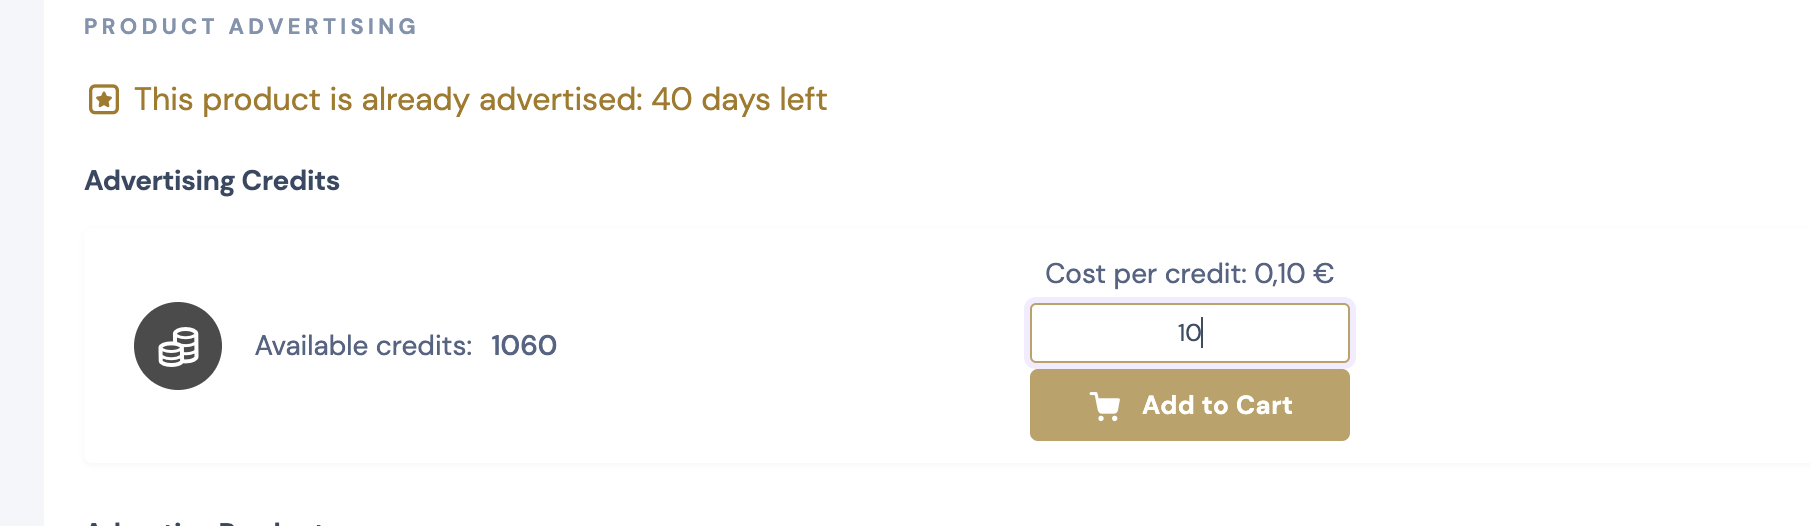
To advertise a product, vendors need to edit that product and scroll down to the advertisement panel:
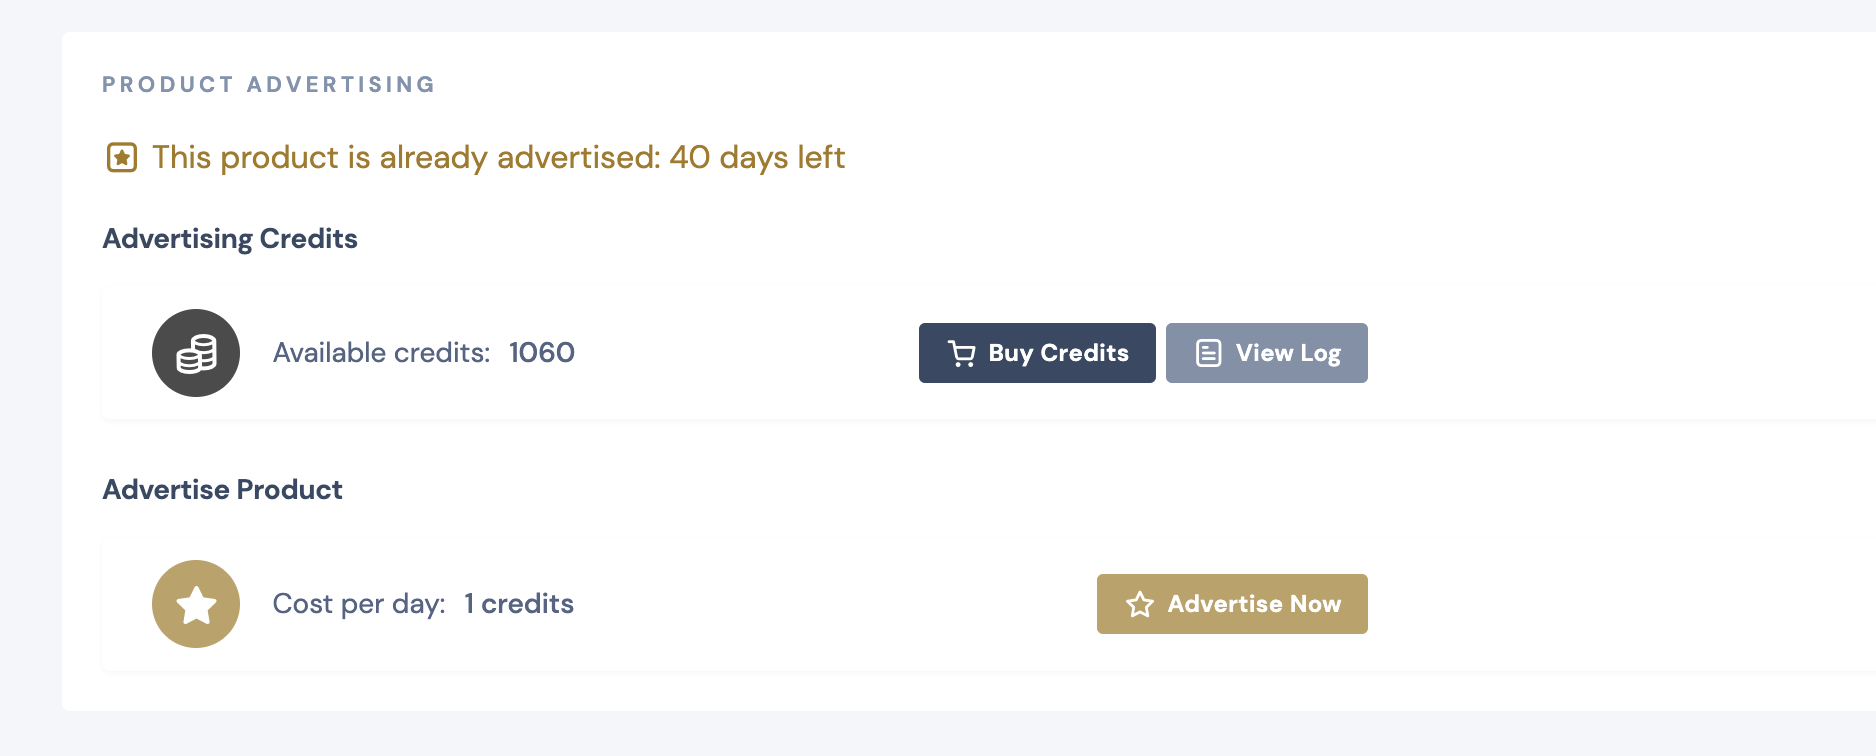
Here vendors have 3 buttons:
- Buy Credits - allows vendors to purchase ad credits.
- View Log - downloads a log of all credit purchases and credit usage.
- Advertise Now - creates an advertisement for the product.
In MarketKing, vendors do not purchase each advertisement directly. Instead, they purchase advertising credits. This has the advantage that vendors do not need to buy each advertisement separately. They can, for example, purchase 1000 credits and then use those credits over the following months.
The credits log ensures that there is a clear record of all credit purchases and how credits have been used. Once the vendor clicks "Advertise Now," they will be asked how many days they want to advertise the product for:
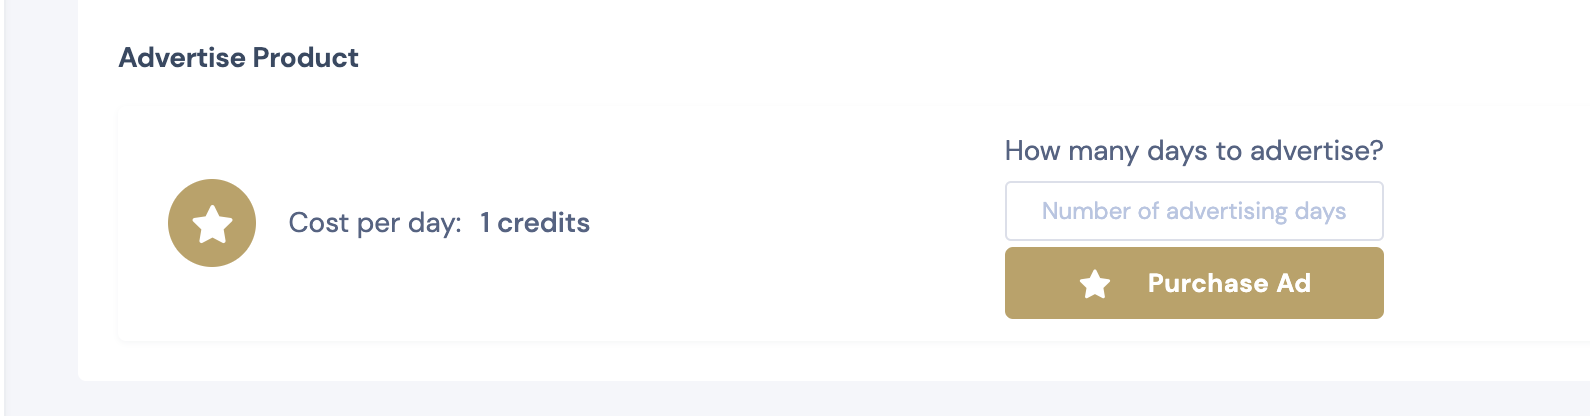
It's possible to configure a credit cost per day, so that 1 day costs X credits.
If the vendor has enough credits, the product will be advertised successfully:


Admin Advertising Settings
The site admin can go to MarketKing -> Settings -> Advertising to configure several settings:
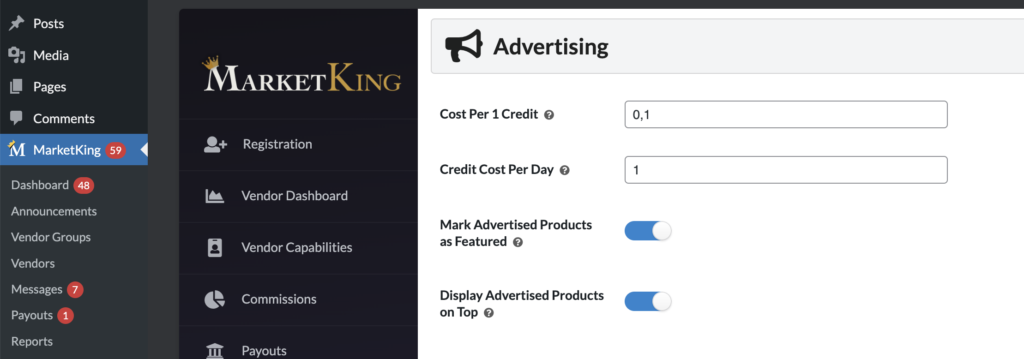
These settings are:
- Cost per 1 credit
This can be set to 1 so that 1 credit equals $1, or it can be set to 0.1 so that $1 purchases 10 credits.
- Credit Cost Per Day
This determines how many credits are used to purchase 1 day of advertising.
- Mark Advertised Products as Featured
When enabled, this setting automatically marks advertised products as featured. When an advertisement expires, the products are un-featured. Featuring refers to the default WooCommerce featuring option. You can read more about how this works here.
- Display Advertised Products on Top
Advertised products will be displayed at the top of each page, such as the Shop page, Vendor Store Page, etc.
It's important to note that advertised products will be shown at the top of the page they are on. If a product is on the 2nd page of a category, for example, it will still appear on the 2nd page but at the very top.
Purchasing Credits - Subscriptions and Memberships
Vendors can click to purchase credits. This will add the credits to their cart:
Once credits are in the cart, the vendor can proceed to checkout.
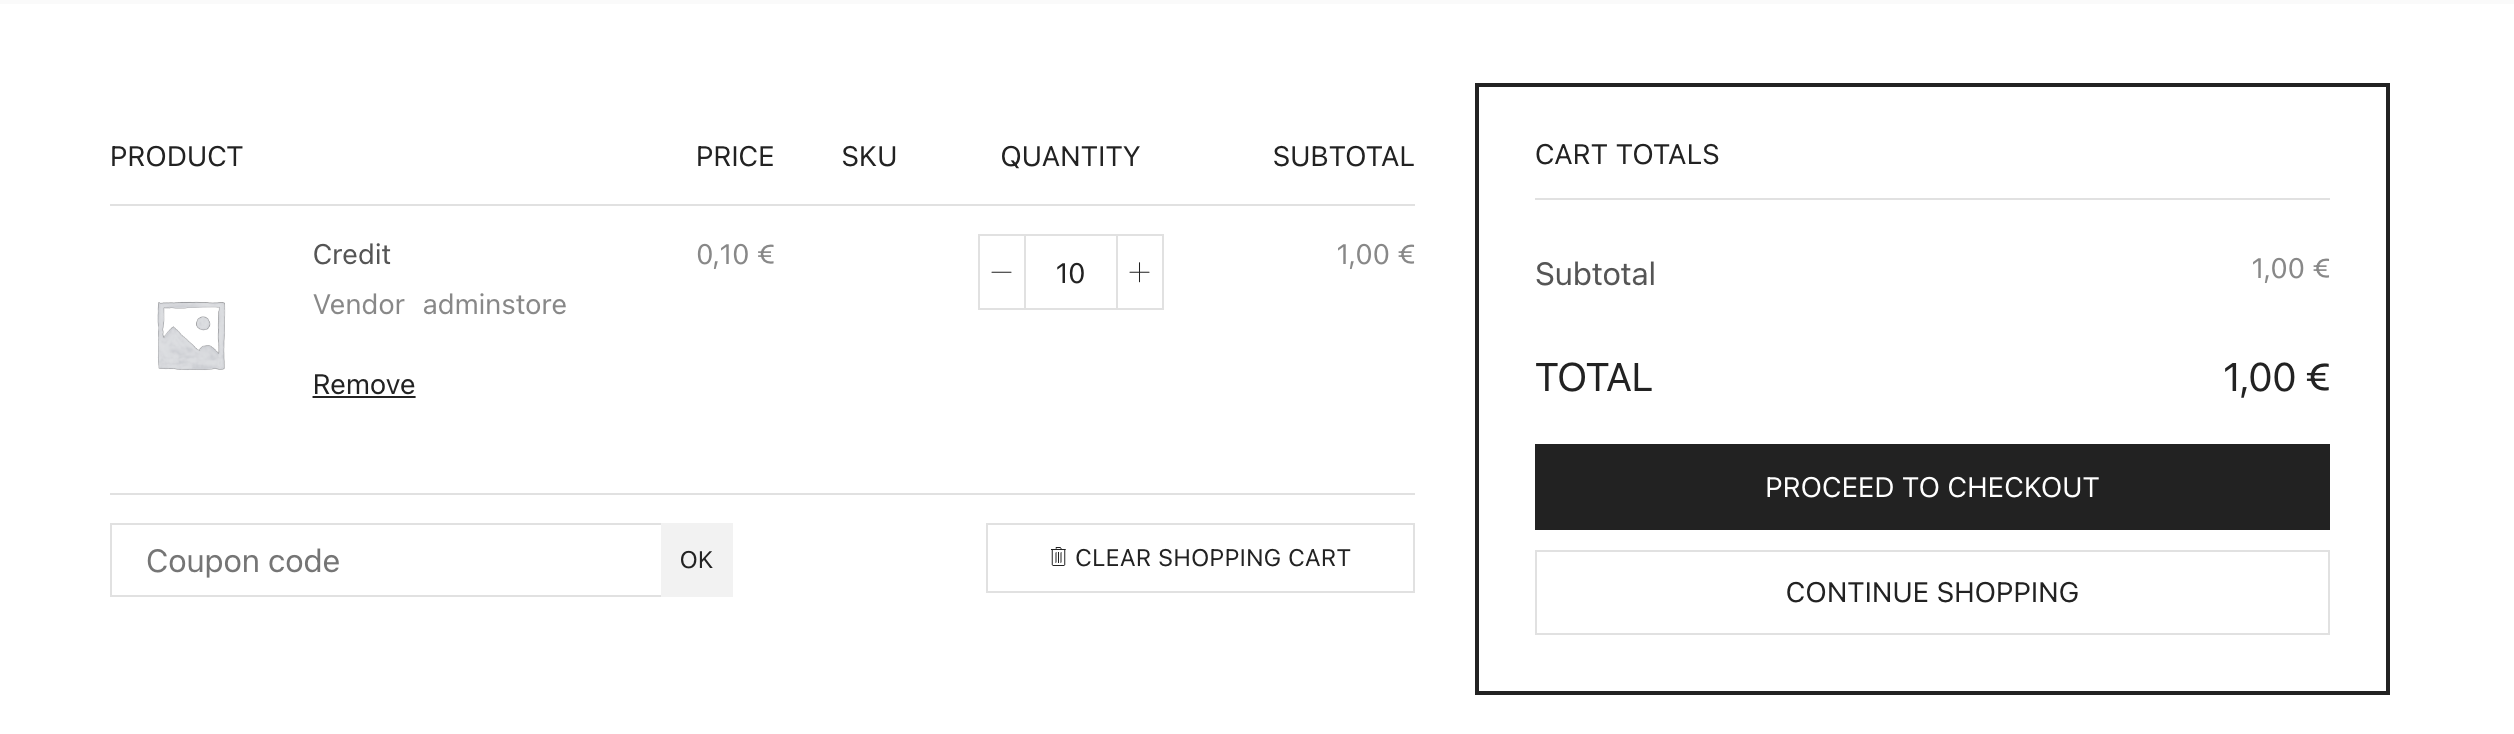
Once checkout is completed, the vendor will automatically receive the purchased credits and can use them to buy advertising.
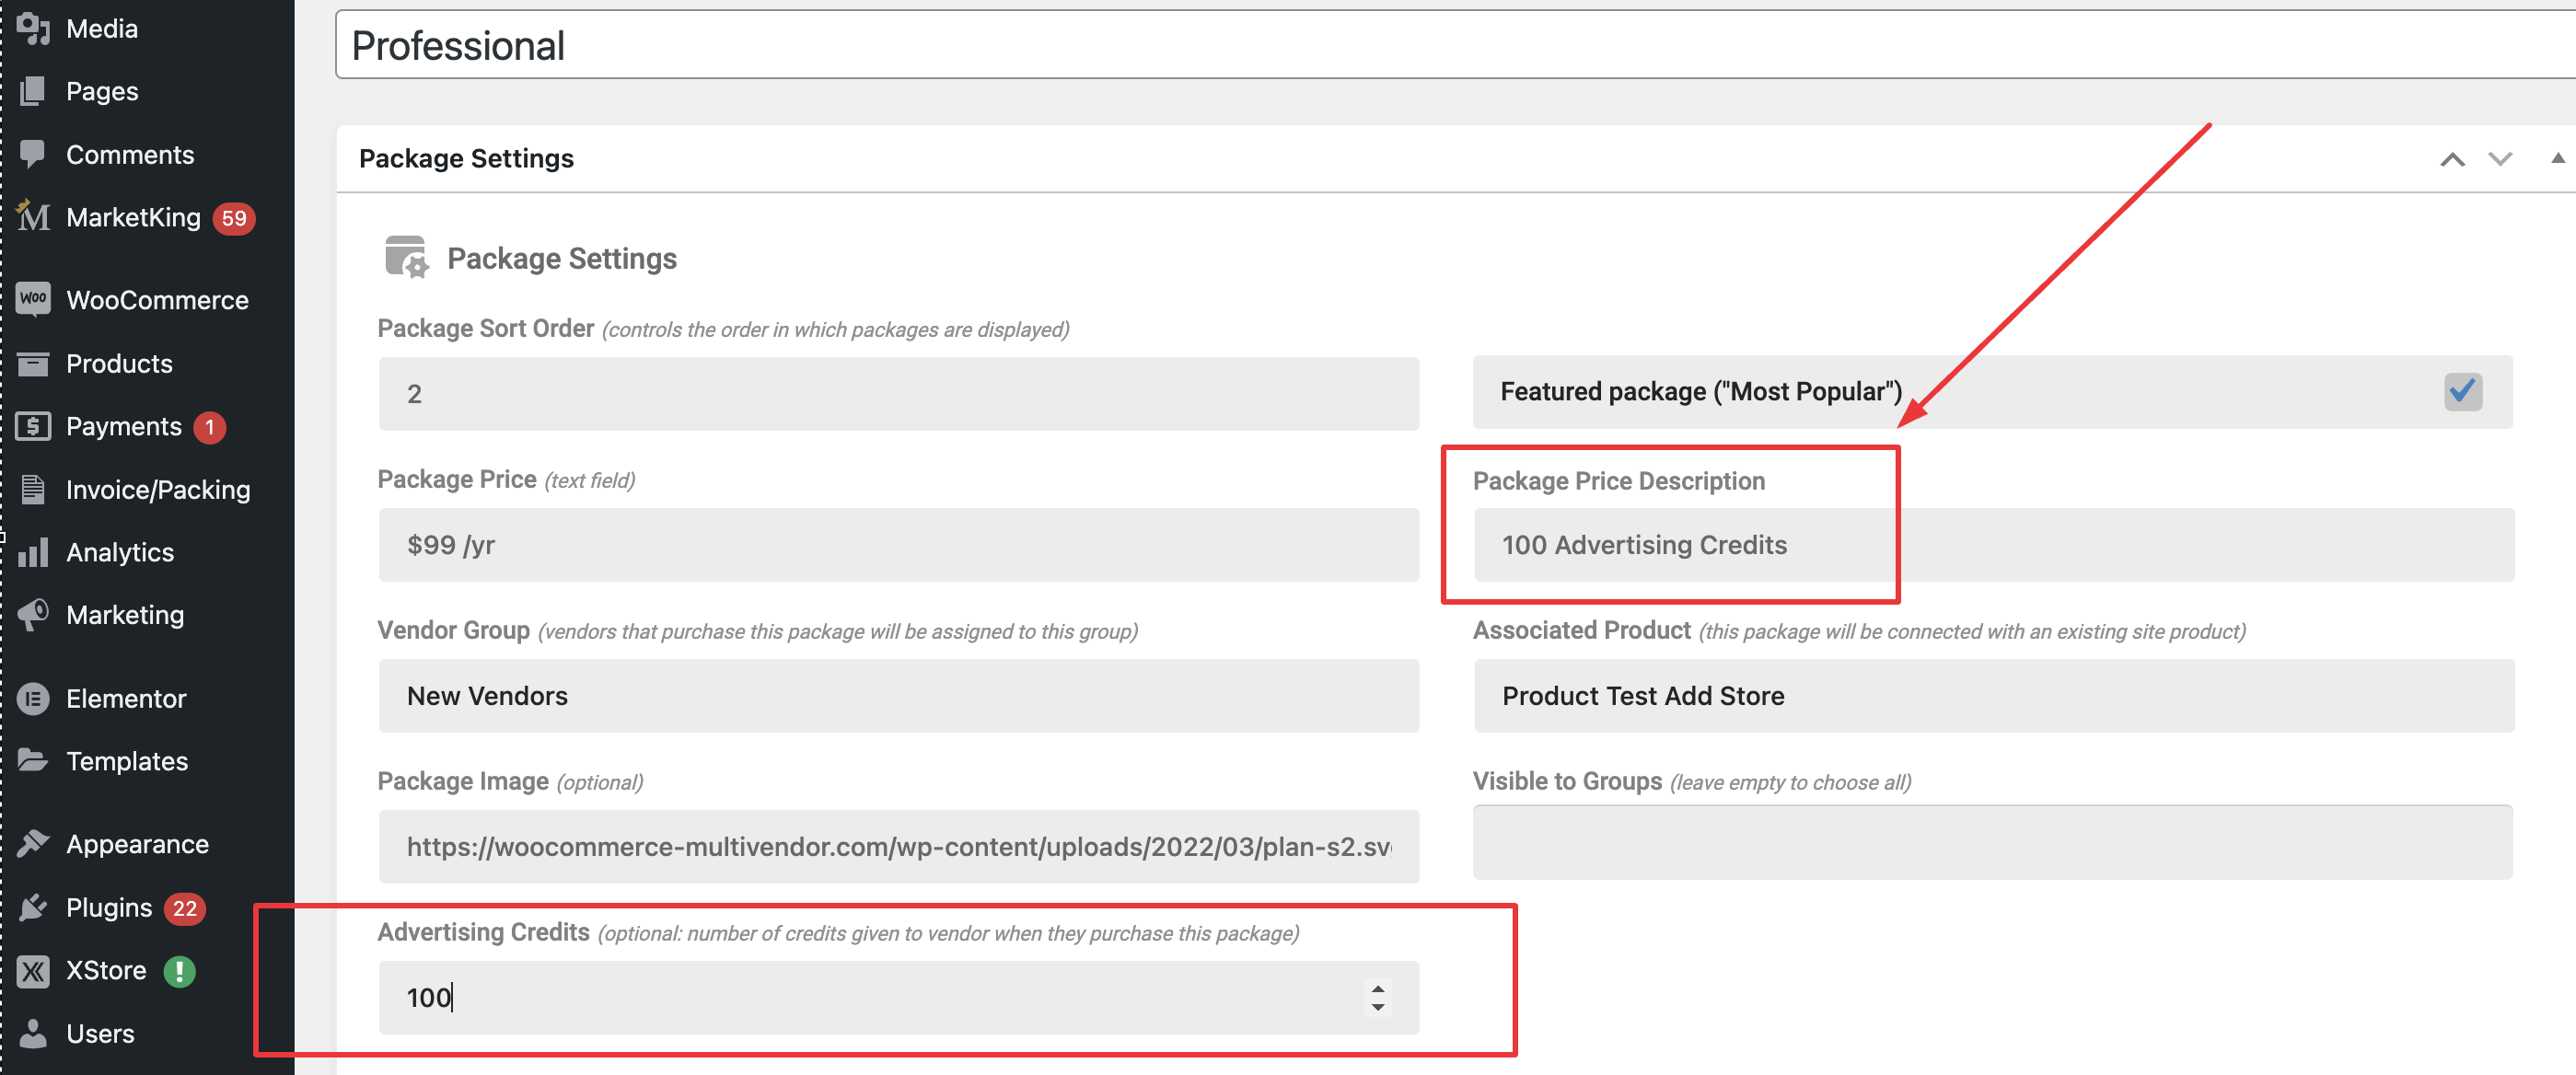
Importantly, it is also possible to include credits in a subscription / membership package. For example, you can set the "Gold" vendor package to include 100 credits.

This can be configured when editing each package:
Creating Ads and Adding Credits via Backend (Admin)
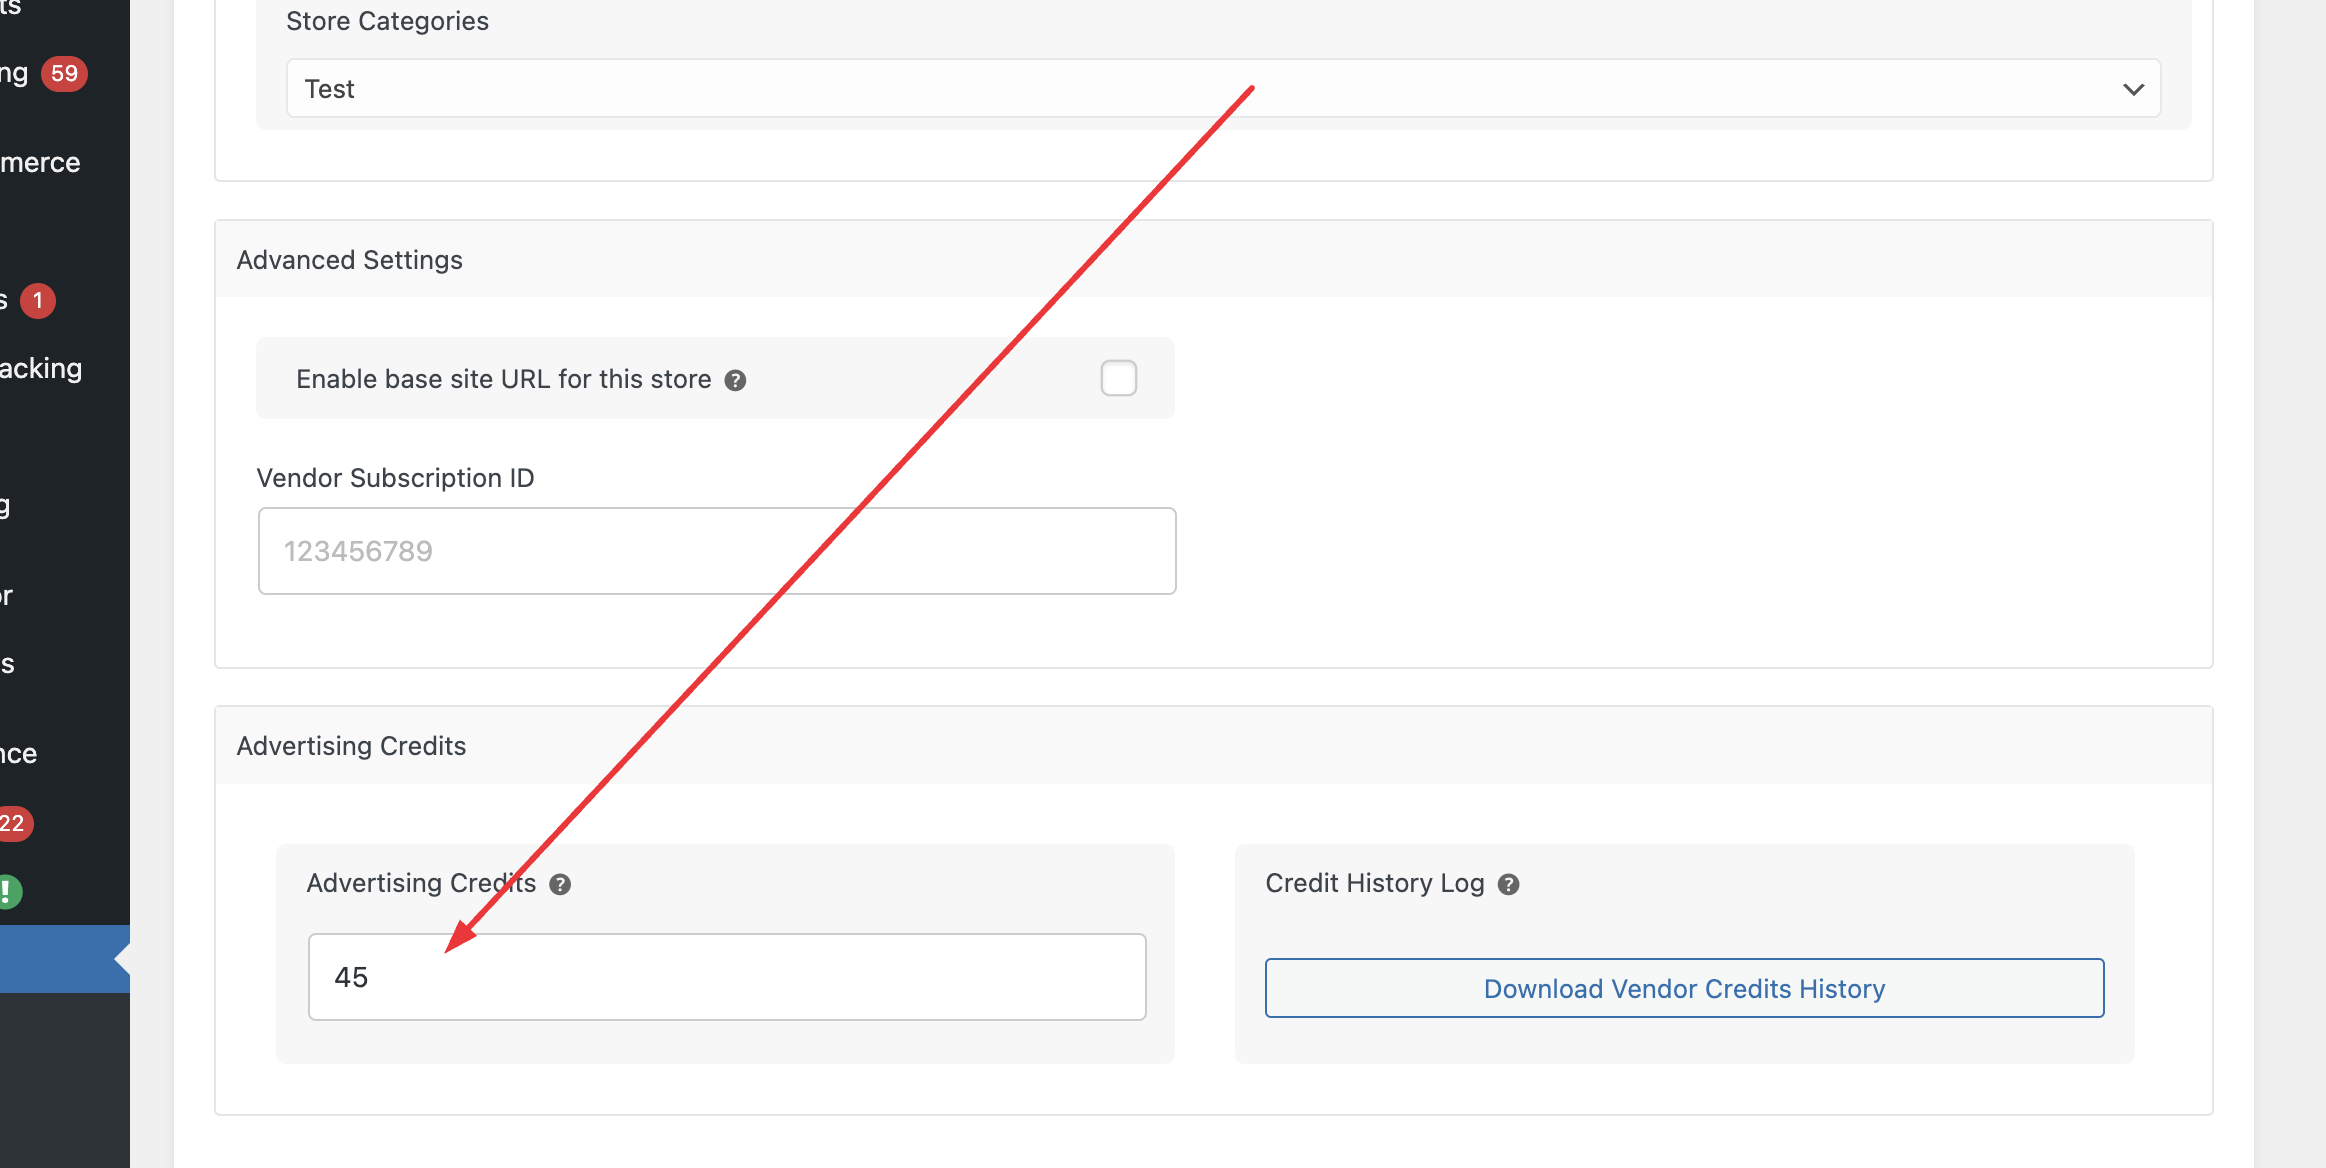
The site admin can add credits manually for each vendor. To do this, go to the vendor's user profile and scroll down to the advertising area:
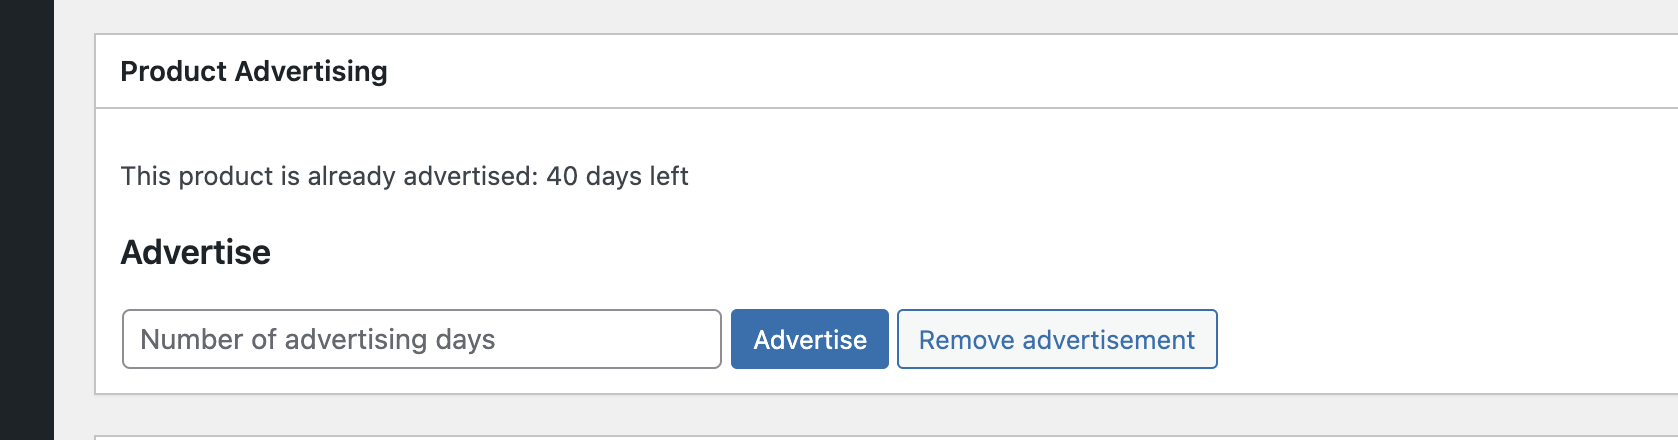
Furthermore, when editing any product, the admin can either advertise it or remove an existing advertisement:
Advertised Products Shortcode
There is also a shortcode that can be used to display only advertised products:
[marketking_advertised_products]
You can use it with parameters such as:
[marketking_advertised_products count="12" paginate="false"]
This will show a random list of advertised products.