
The 'Store Categories' module lets you organize your vendors based on custom-defined attributes, such as the types of products they sell, store location, service type, etc.
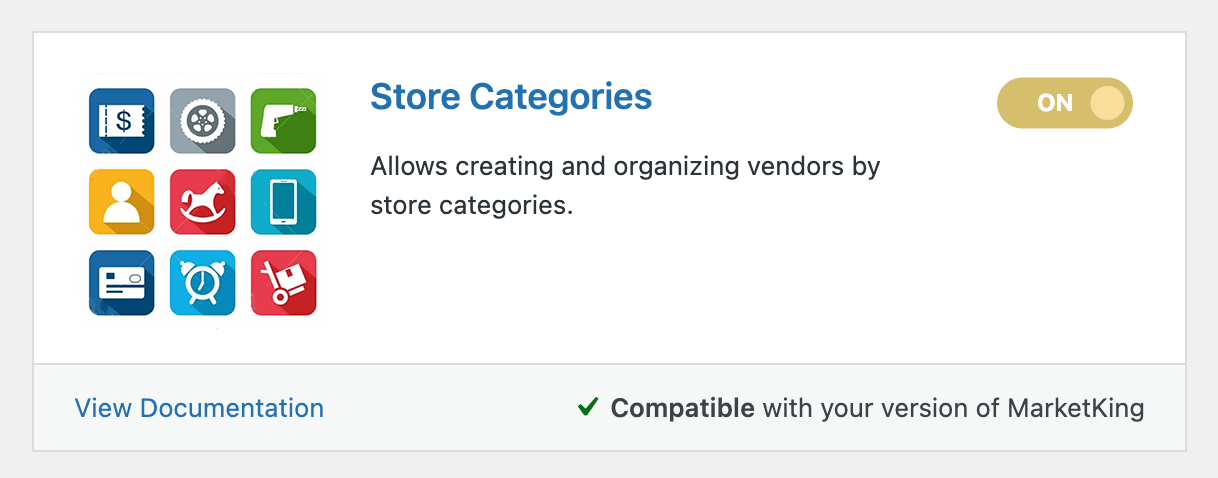
To use this module, it must first be enabled in MarketKing -> Modules:
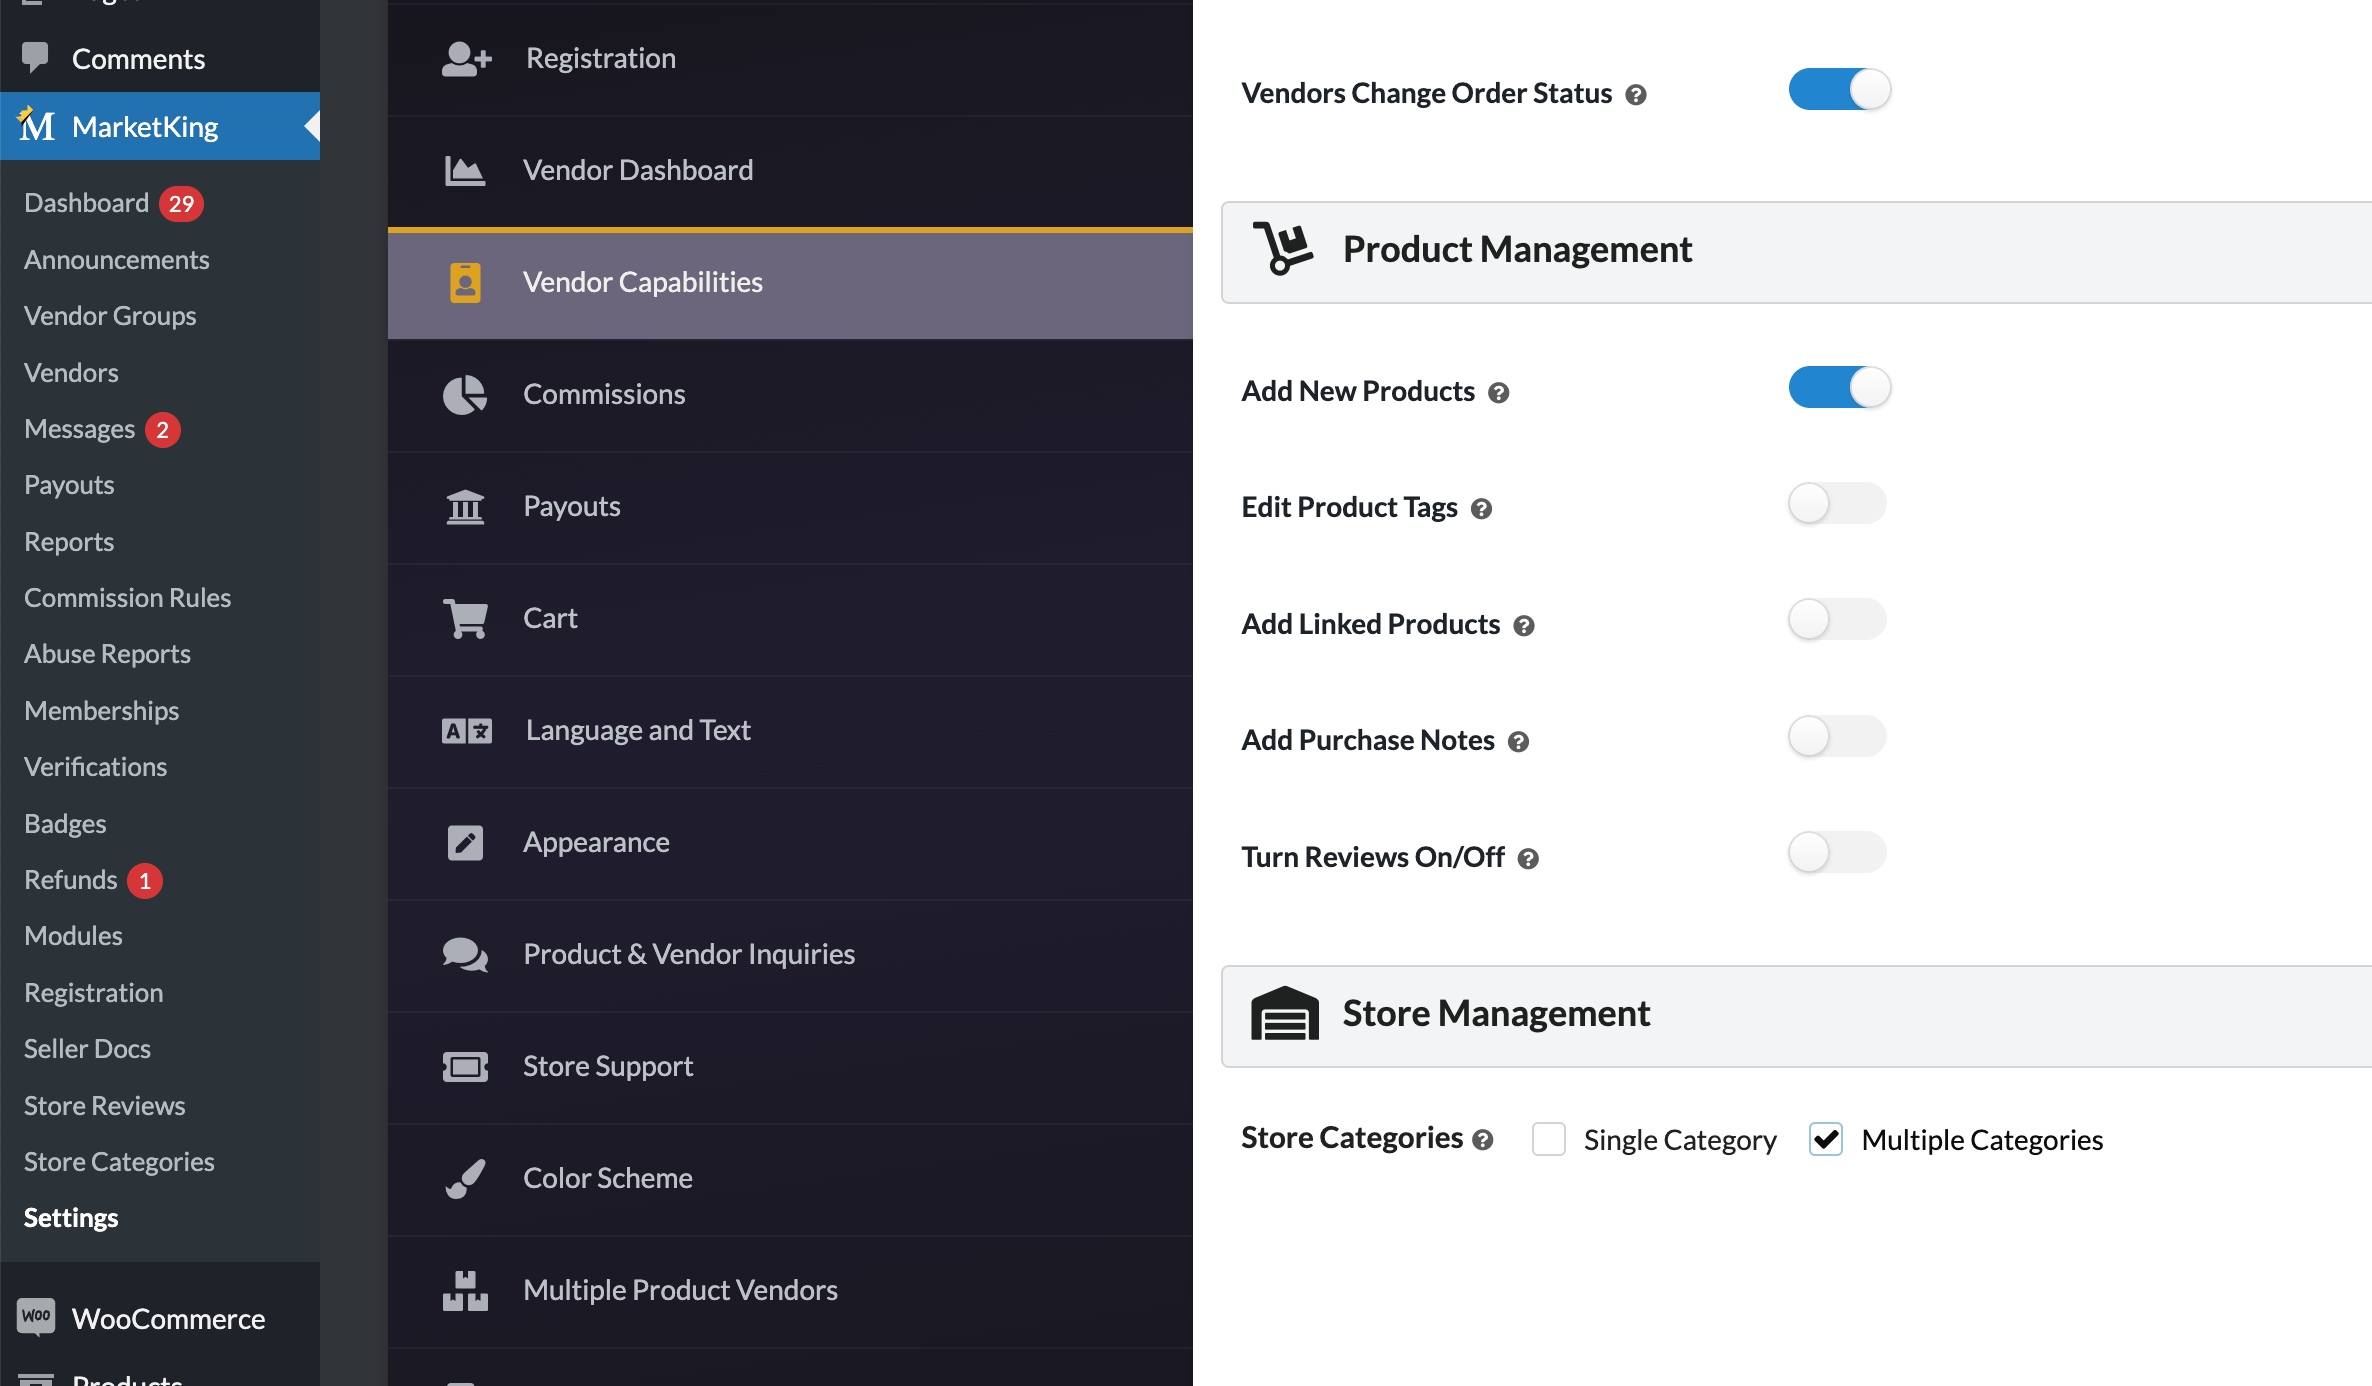
Once enabled, go to MarketKing -> Settings -> Vendor Capabilities -> Store Management, and choose whether to allow a single category per vendor or multiple categories:
Configuring Available Categories
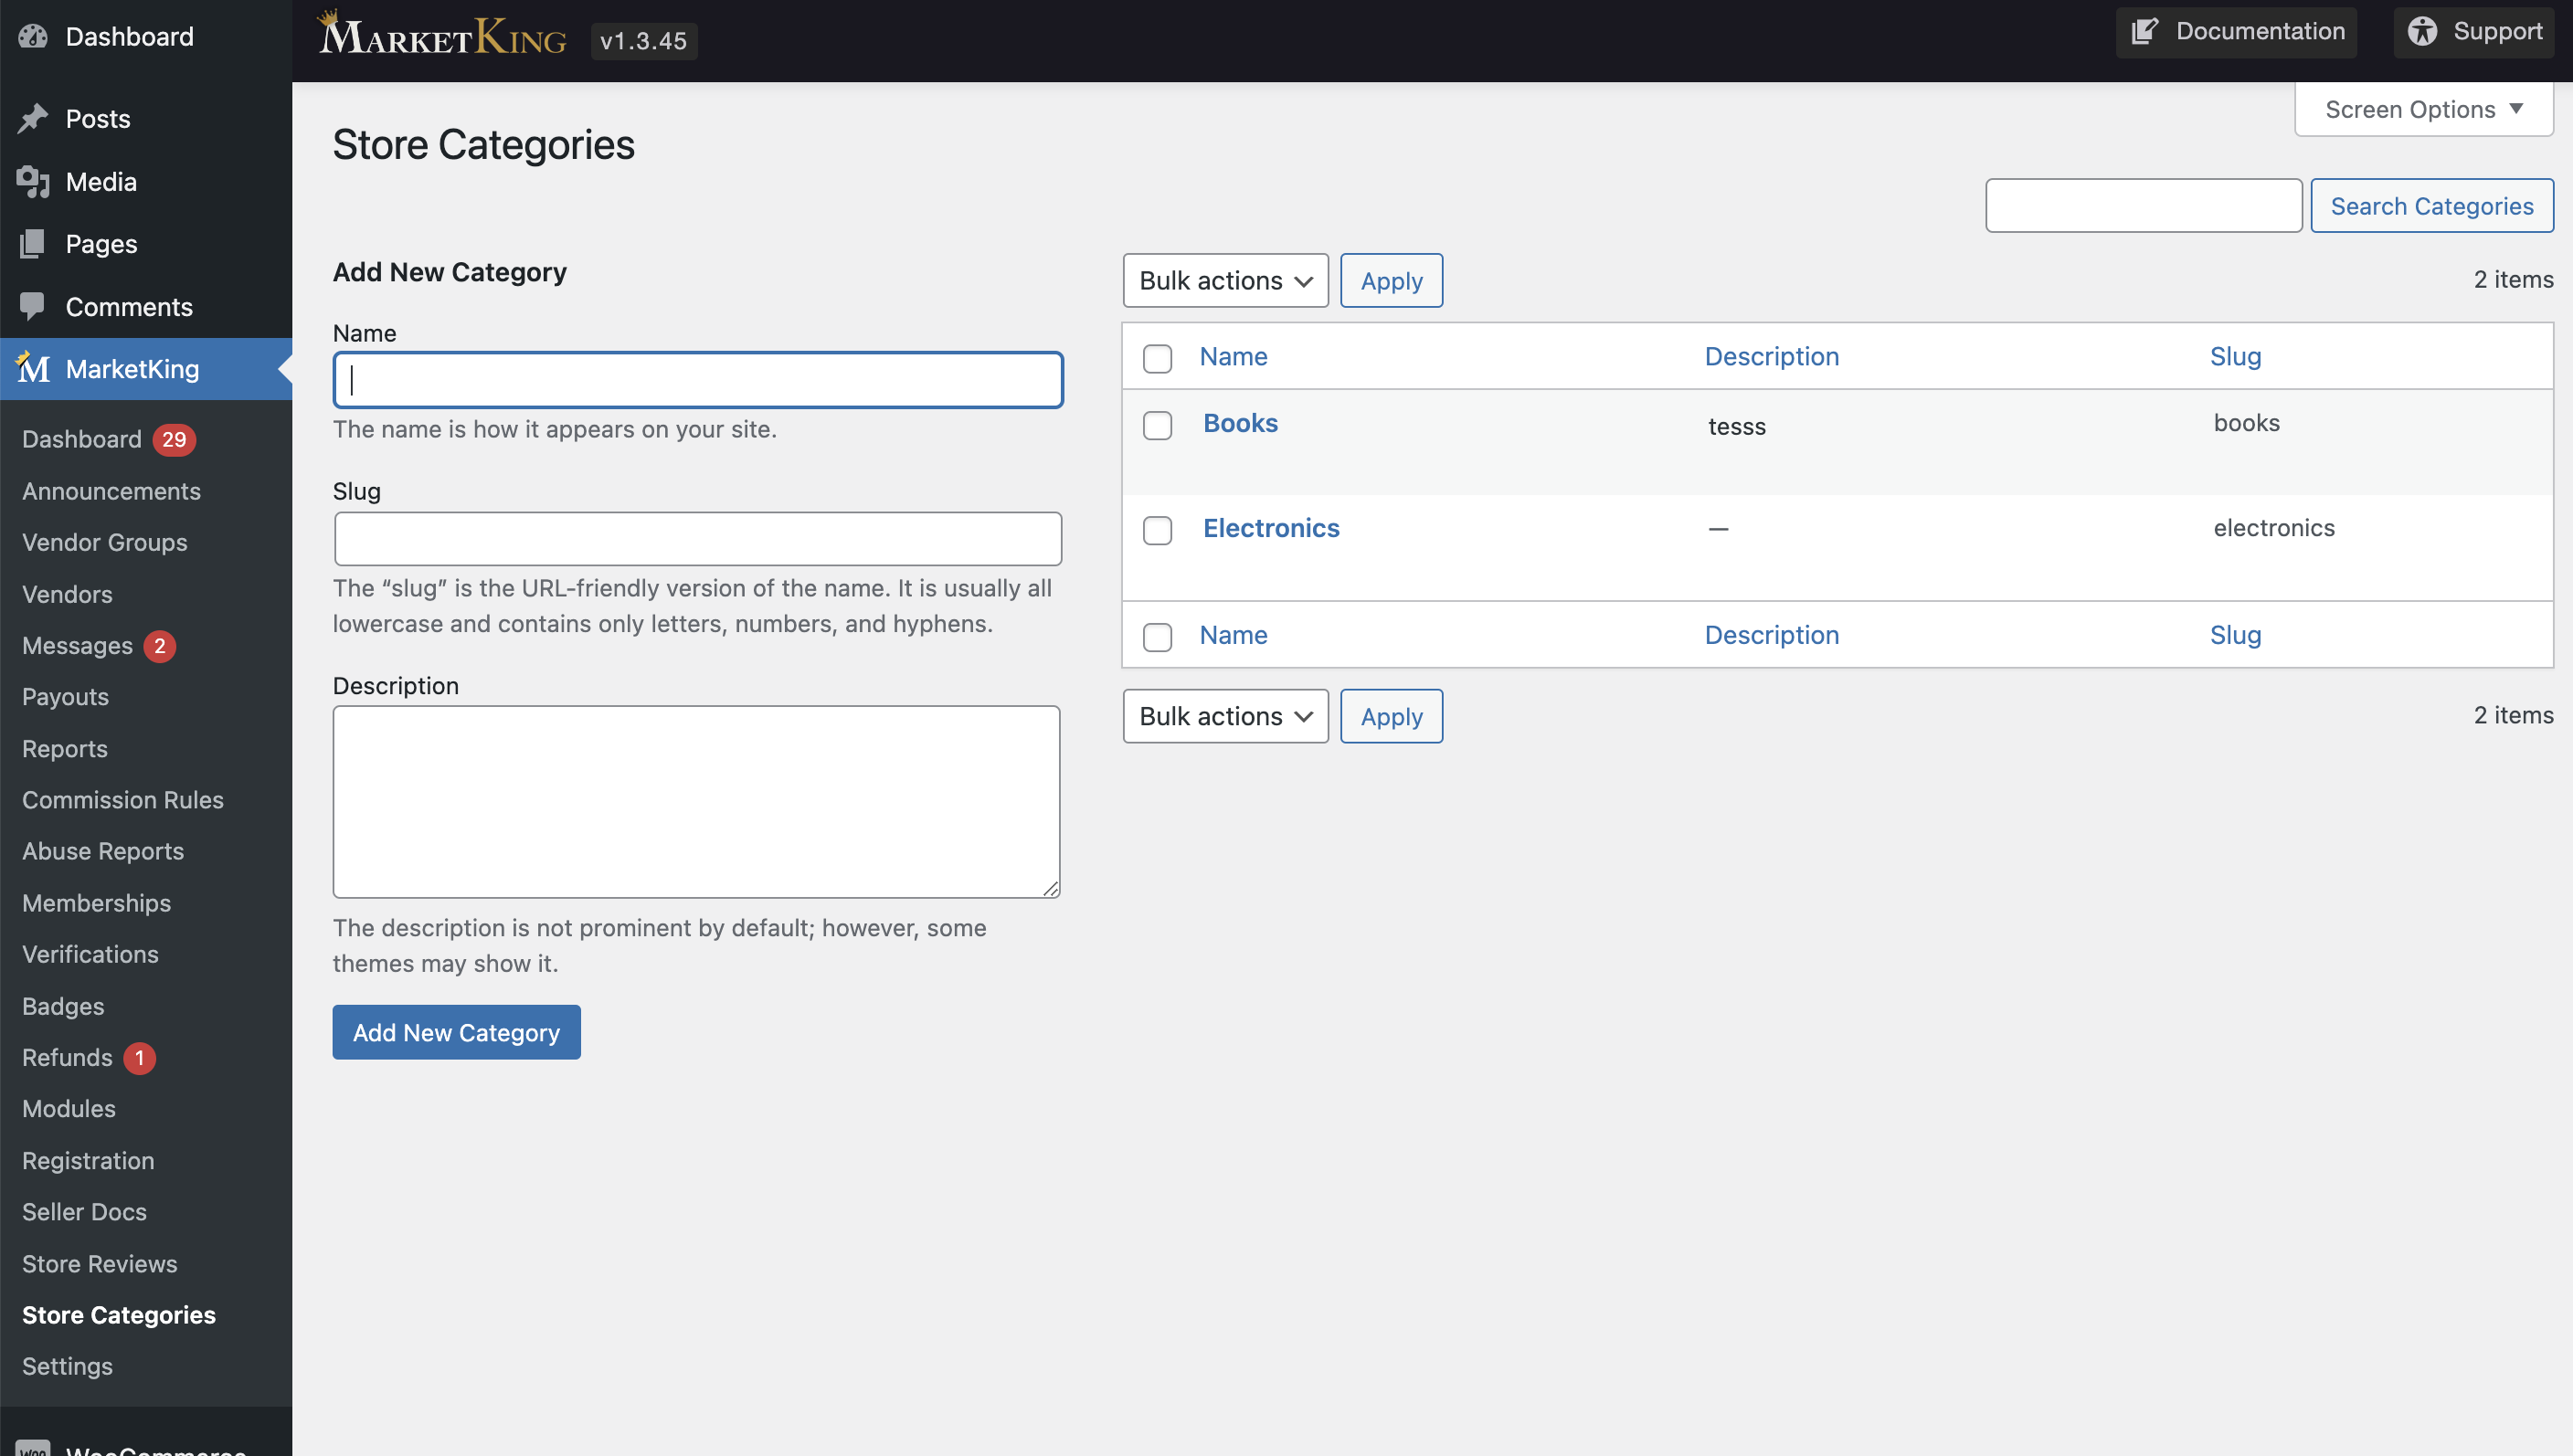
Categories can be configured through the site backend via MarketKing -> Store Categories:
Selecting Categories for Vendors
Both vendors and the site admin can select vendor categories.
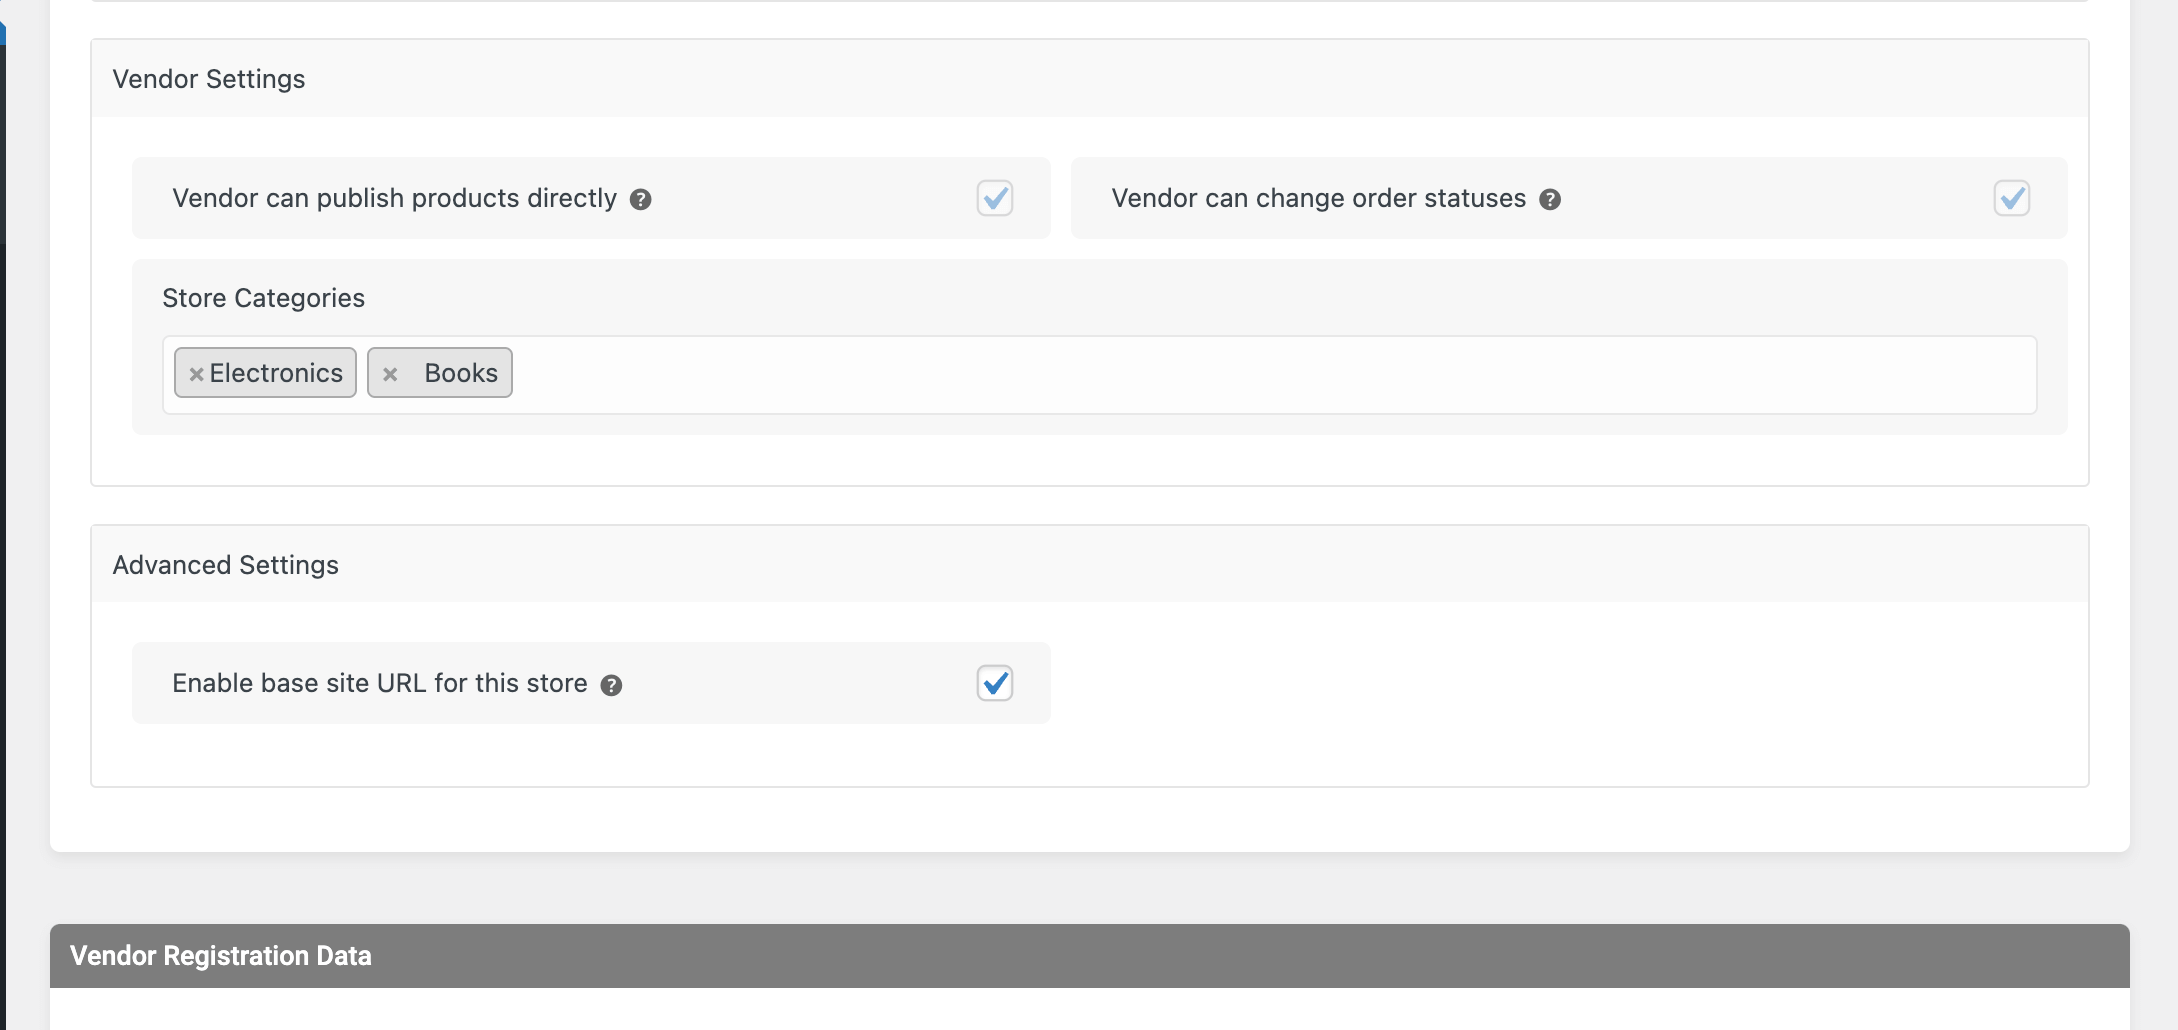
The site admin can do this by visiting the vendor profile page and finding the 'Store Categories' tab under 'Vendor Settings':
Vendors can configure store categories by going to their vendor dashboard, then to Settings -> Store Categories:
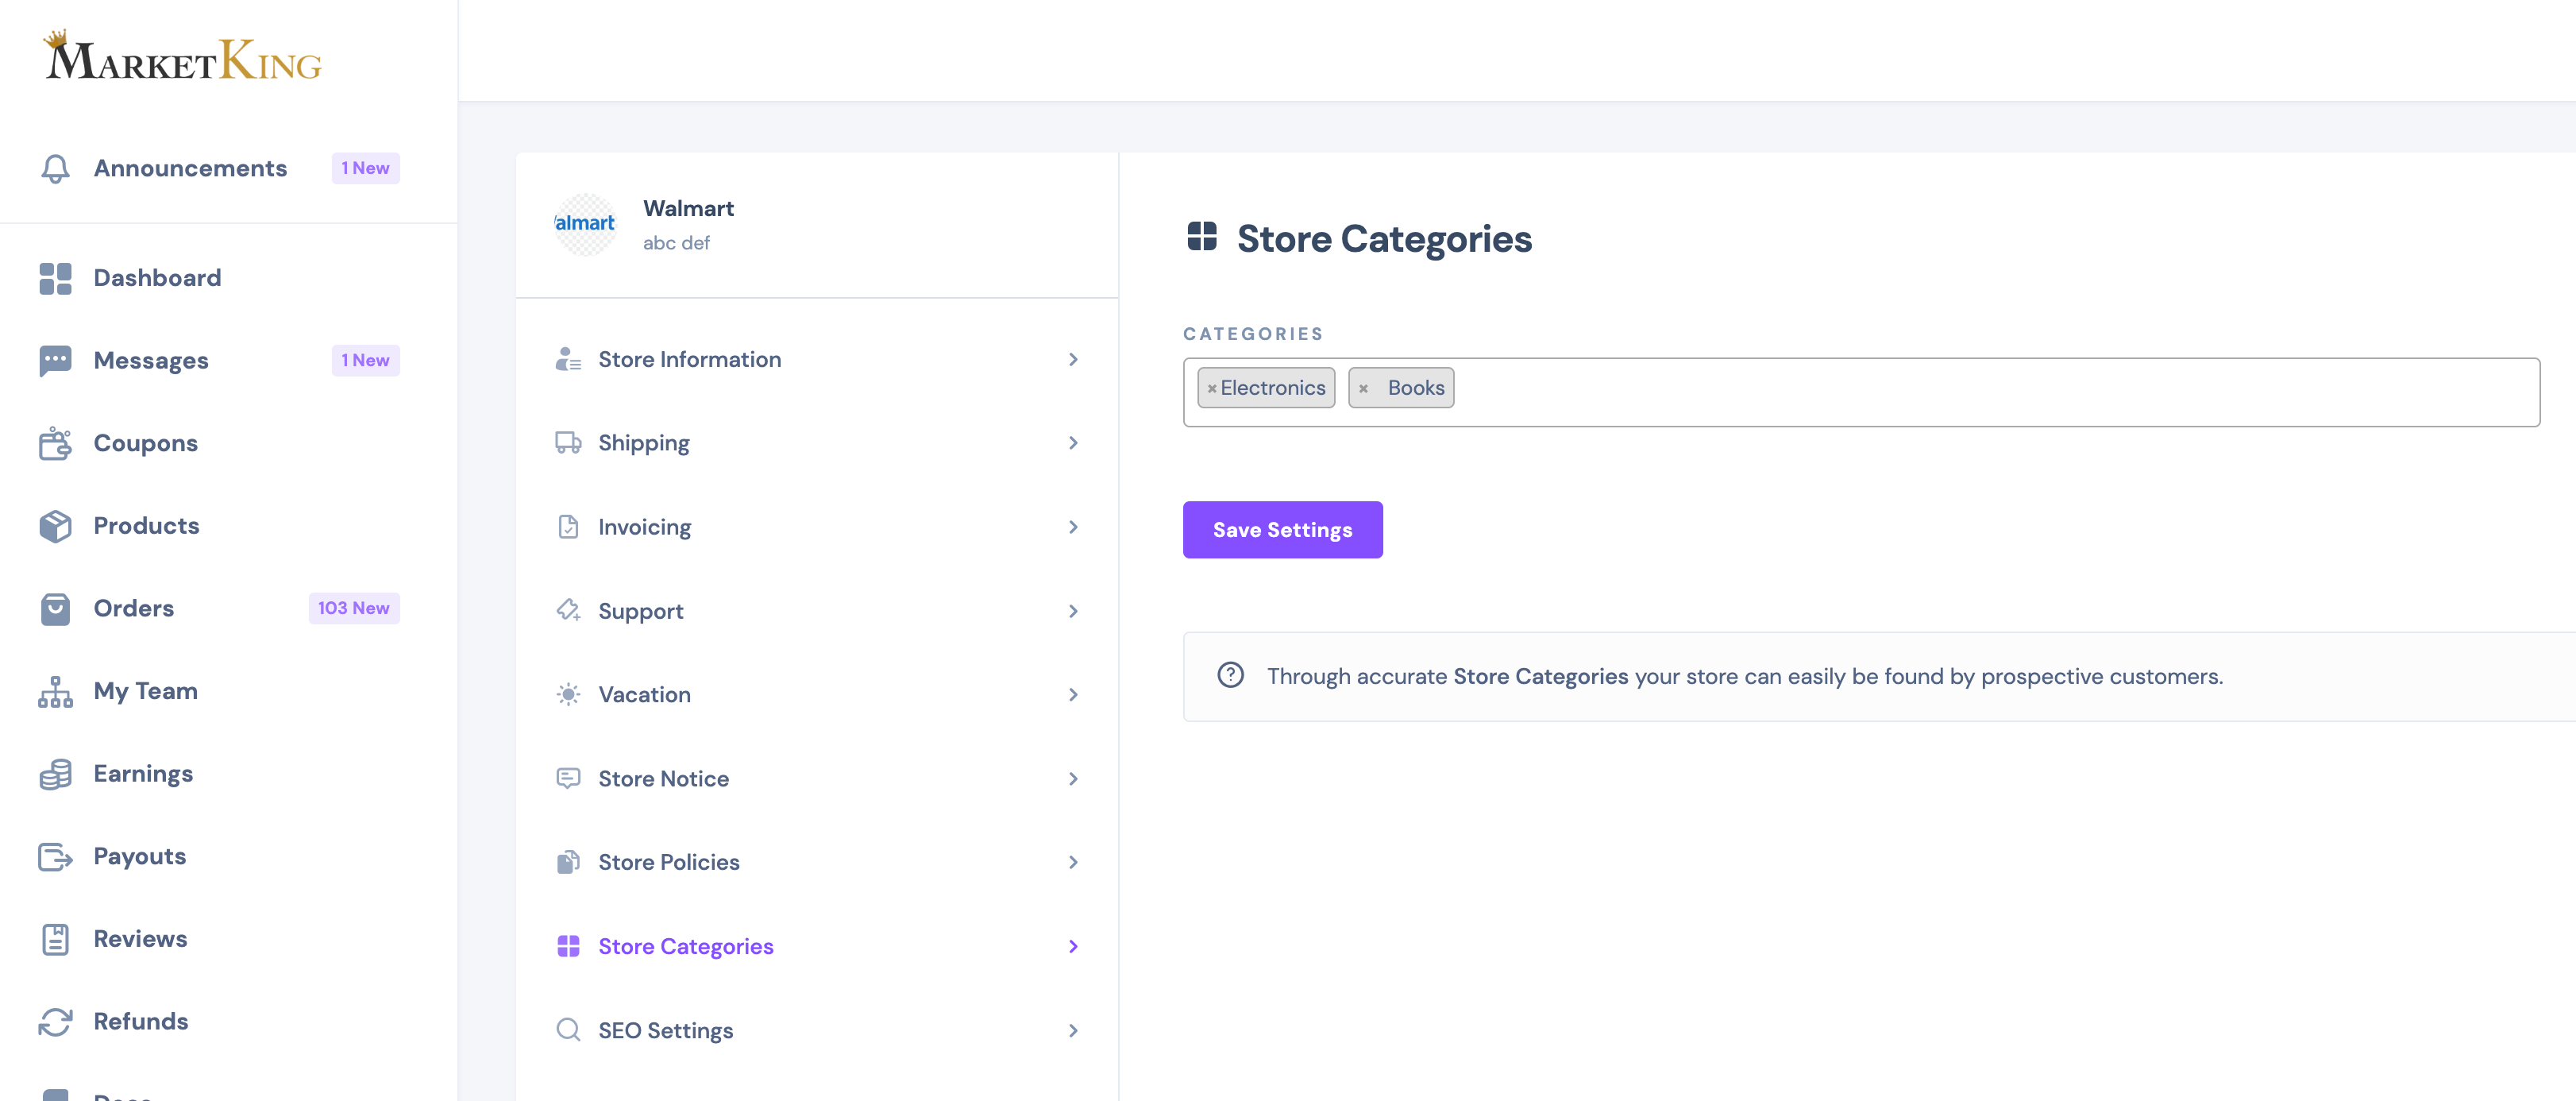
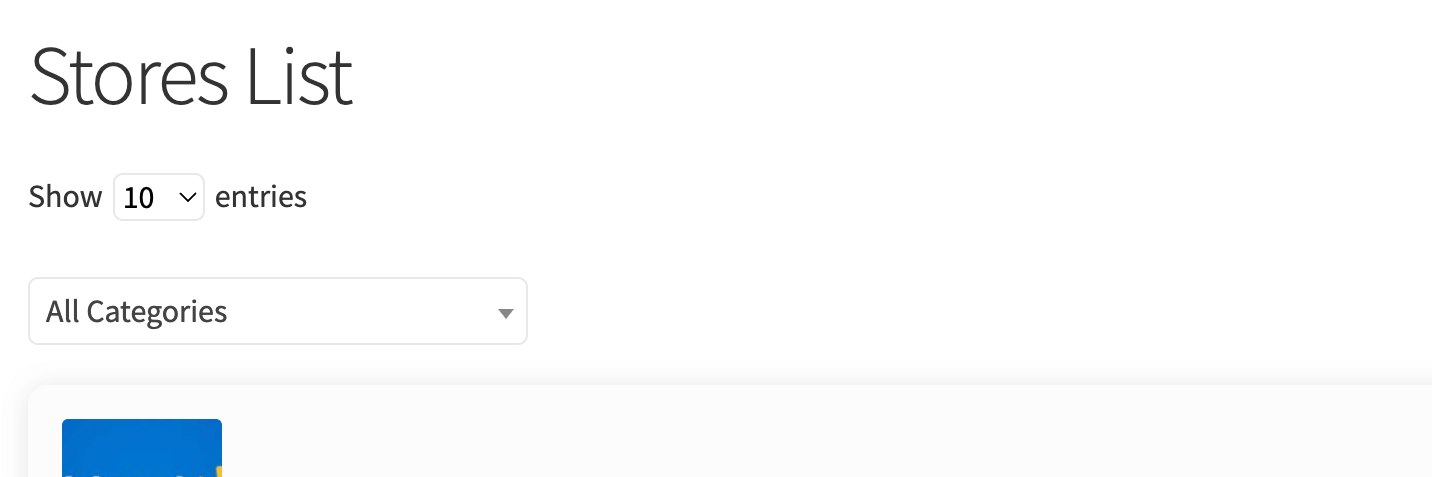
How Categories Are Displayed
On the frontend, a category selector is added to store lists, allowing customers to filter by the category they're looking for:
Categories are also shown on each vendor's store page under 'Vendor Information' / 'Vendor Details':

Displaying Vendors by Category - Shortcode
To display vendors from specific categories on a page, you can use the following shortcode:
[marketking_vendors_list category=electronics]
Other examples:
[marketking_vendors_list category=electronics,books]
The above will display a list of all vendors from the 'Electronics' and 'Books' categories.
Show Vendors List on Store Categories Page
You may want to show all vendors in a specific category when visiting the URL of that category, such as site.com/storecat/furniture
This can be achieved with some code. Here's how:
Create a PHP file named taxonomy-storecat.php and copy it to your child theme folder, for example wp-content/themes/storefront-child/taxonomy-storecat.php
This file should contain a modified archive.php template from your theme, in which the content displayed to the user is replaced with:
echo do_shortcode('[marketking_vendors_list category='.get_queried_object()->name.']');For example, with the Storefront theme you can use this code in the taxonomy-storecat.php file:
defined( 'ABSPATH' ) || exit;

get_header( 'shop' );

do_action( 'woocommerce_before_main_content' );

?>
<header class="woocommerce-products-header">
    <?php if ( apply_filters( 'woocommerce_show_page_title', true ) ) : ?>
        <h1 class="woocommerce-products-header__title page-title"><?php woocommerce_page_title(); ?></h1>
    <?php endif; ?>

    <?php
    do_action( 'woocommerce_archive_description' );
    ?>
</header>
<?php

echo do_shortcode('[marketking_vendors_list category='.get_queried_object()->name.']');

do_action( 'woocommerce_after_main_content' );

do_action( 'woocommerce_sidebar' );

get_footer( 'shop' );
However, this may differ depending on your theme. If so, you would need to start with your theme's archive.php template instead.