You may want to display custom ACF fields on the vendor dashboard and make them available to each vendor for their own products. Or you may want to display certain fields in the vendor dashboard profile area.
Here is how you can achieve this:
Step 1) Adding the necessary scripts and functions
Add the following PHP code snippet to your site. For example, you can add this to functions.php:
add_action('marketking_extend_page', function($pageid){
    ?>
    <div id="marketking_footer_hidden">
        <?php
        wp_footer();
        ?>
    </div>
    <?php
});

add_filter('marketking_css_queue', function($q){
    $new_items = array('acf-global','acf-input','acf-pro-input','acf-datepicker','acf-timepicker','tinymce','tinymce-root');
    $q = array_merge($q, $new_items);
    return $q;
}, 10, 1);

add_filter('marketking_js_queue', function($q){
    $new_items = array('acf-global','acf-input','acf-pro-input','acf-datepicker','acf-timepicker','acf-color-picker-alpha','tinymce','tinymce-root');
    $q = array_merge($q, $new_items);
    return $q;
}, 10, 1);

add_action('marketking_after_save_product', function($product_id, $vendor_id){
    do_action( 'acf/save_post', $product_id );
}, 10, 2);

add_action('marketking_after_save_profile', function($vendor_id){
    do_action( 'acf/save_post', $vendor_id );
}, 10, 1);
Step 2) Display your custom field on the vendor product page
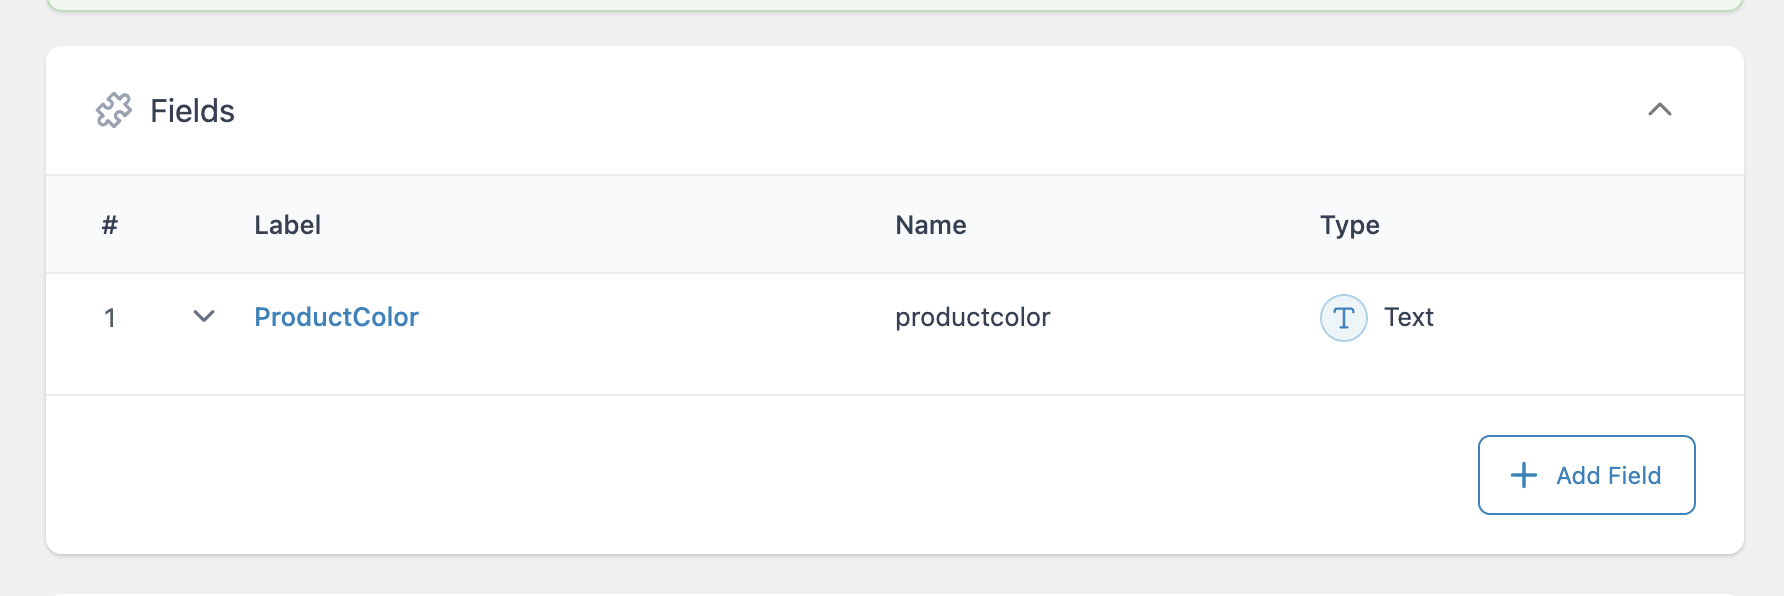
Let's create a text field in ACF. For testing, we created this simple 'productcolor' field:
Then, to display this field on the vendor dashboard page, add this PHP code snippet:
add_action( 'marketking_edit_product_after_tags', function($post){
acf_form_head();
?>
<div class="col-xxl-12 col-md-12 marketking_card_gal_cat_tags" style="background: white; padding:20px;border-radius: 4px;">
<?php
$product_id = $post->ID;
acf_form(array(
'fields' => array('productcolor'),
'form' => false,
'post_id' => $product_id,
));
?>
</div>
<?php
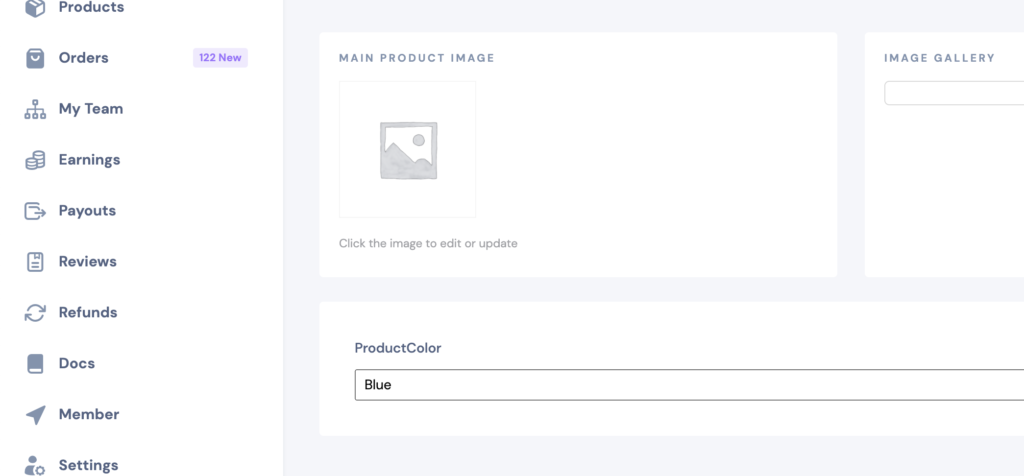
});(It's important to replace 'productcolor' with the name of your custom field.)
That's it!
You now have an editable field on the edit-product page:
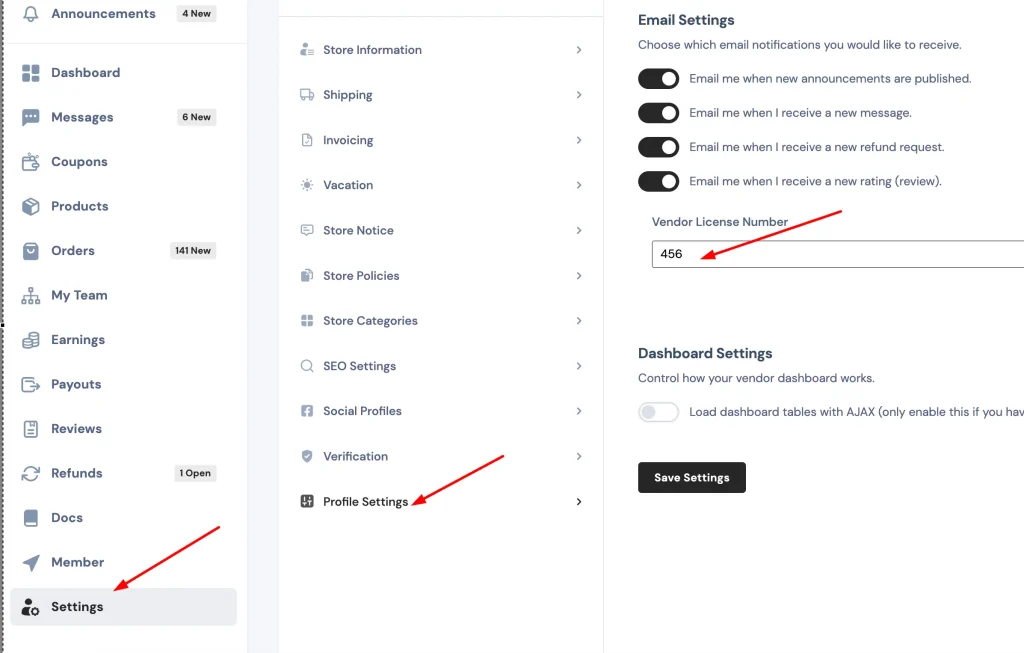
Step 3) Display your custom field in vendor profile settings
Instead of a 'product color' field, let's say you have a 'vendor_license_number' field. To add that to vendor profile settings, add the following code snippet to your site:
add_filter('marketking_profile_settings_custom', function(){

    acf_form_head();

    acf_form(array(
           'fields' => array('vendor_license_number'),
           'form' => false,
           'post_id' => get_current_user_id(),
       ));

    ?>
    <div id="marketking_footer_hidden">
        <?php
        wp_footer();
        ?>
    </div>
    <?php

}, 10, 1);
The field will be added as follows: