
The MarketKing Quick Start Guide explains how to install and activate the plugin.
After this initial step, let's look at how to configure the MarketKing plugin initially, step-by-step, based on your shop's requirements, and set up a powerful multivendor marketplace.
The guide below is a summarized guide of the main configuration points. If you want more details about something, please try to search for a dedicated article in the Documentation page. There are lots of options and functions that will not be covered by this guide.
If you cannot find an answer, please open a support ticket with us in our Support Center.
Step 1) Installing a theme
You have now already installed and activated the MarketKing plugin.
If you don't already have one, you will need a WooCommerce-compatible theme. The simplest option is the free WooCommerce storefront theme: https://woocommerce.com/storefront/
You can also opt for a Premium theme such as Woodmart or Flatsome. For more info on choosing a theme, please see: http://woocommerce-multivendor.com/docs/what-themes-is-marketking-compatible-with/
To install a theme, you would go to Appearance -> Themes -> Add New in your WordPress site backend.
(Optional Info) Plugin Pages Explained
You will now see that MarketKing has added 2 new pages to your site:
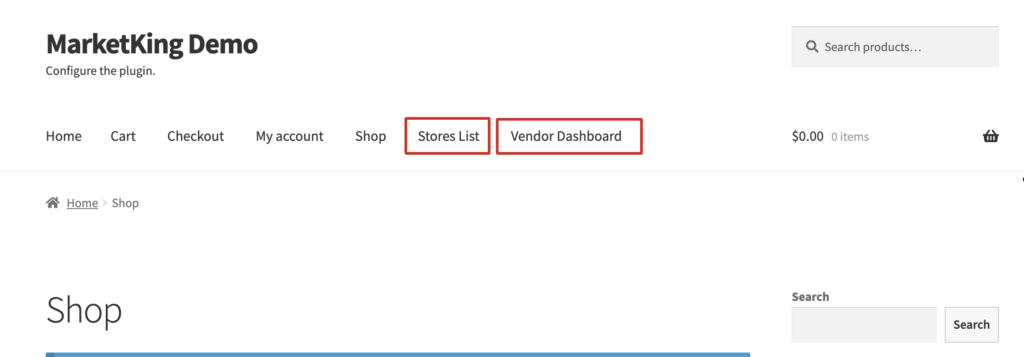
These are the following:
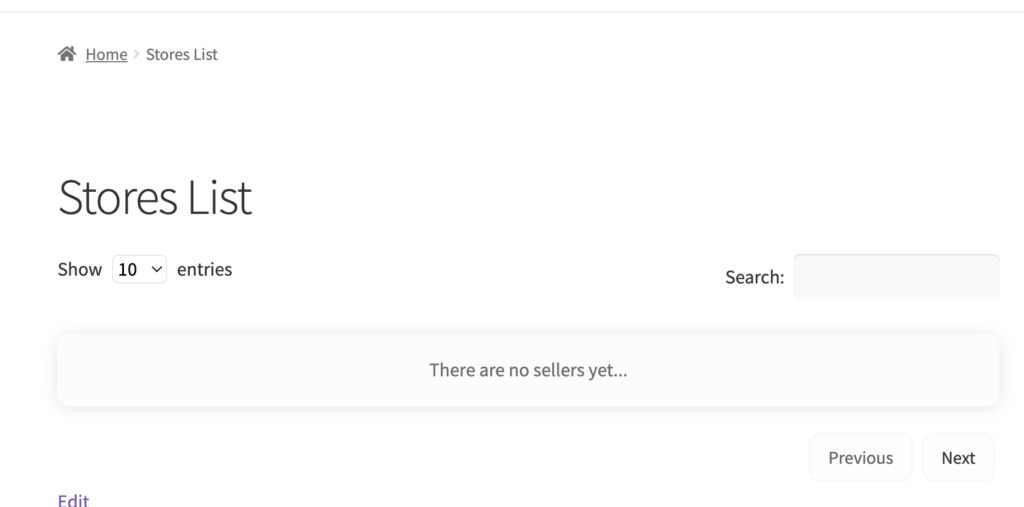
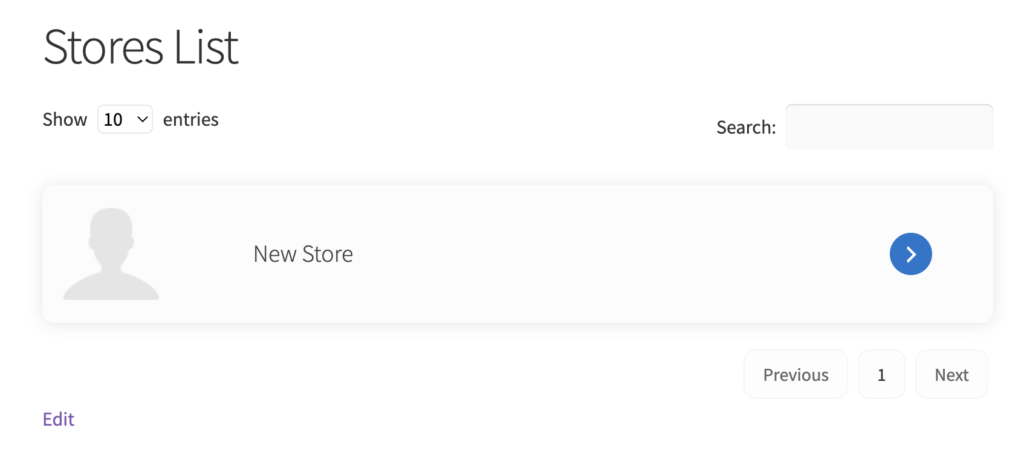
- Stores List page - this page shows all marketplace vendors. This is empty at first, as there are no vendors on your marketplace yet:
- Vendor Dashboard page:
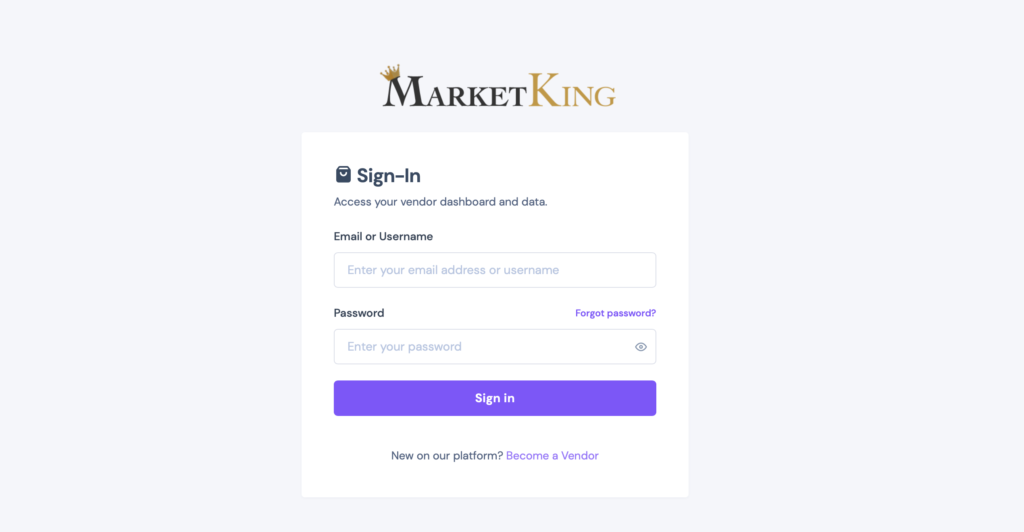
As you can see, the vendor dashboard page is pre-built and already working. For a user to be able to login or access the vendor dashboard page, they must be a vendor (part of a MarketKing vendor group).
(Optional Info) Adding a vendor account manually
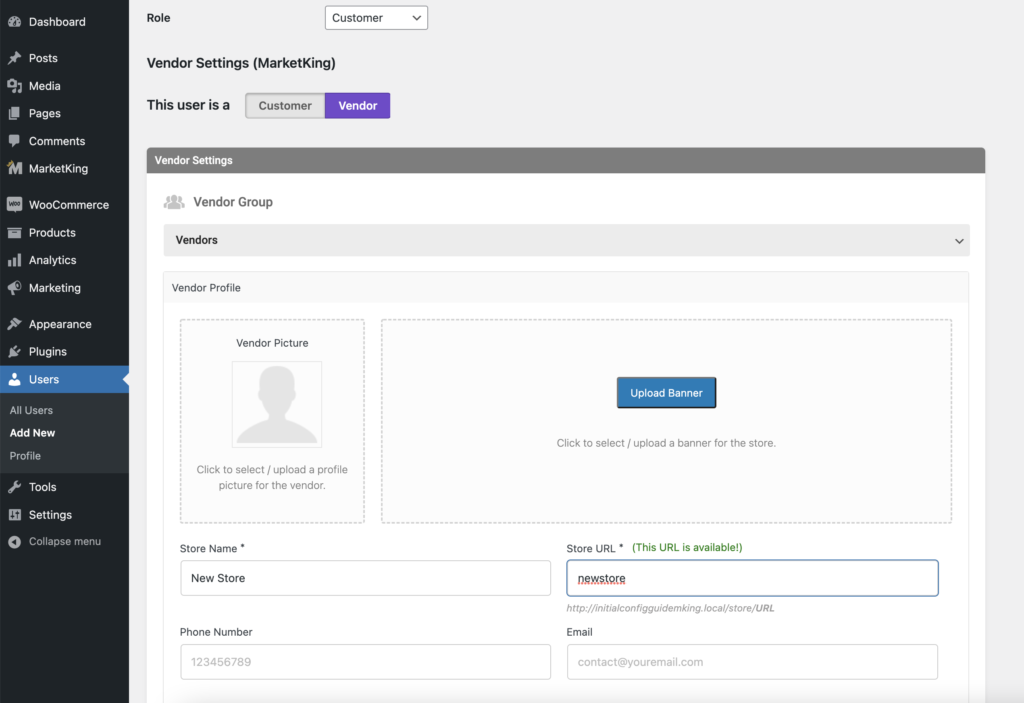
If you'd like to add a seller to the marketplace, you can go to Users -> Add New:
- For the WP Role you can choose 'Customer' - the role does not matter for MarketKing which uses its own groups instead of WordPress roles.
- Then choose 'Vendor' under 'Vendor Settings'
- Choose a Store Name and a Store URL
Then after you add the vendor, you will be able to see their store under the Stores List page:
Step 2) Configuring Vendor Registration
Now to set up vendor registration, go to MarketKing -> Settings -> Registration
Here you have 2 options: either use the default My Account page, or use an entirely separate page
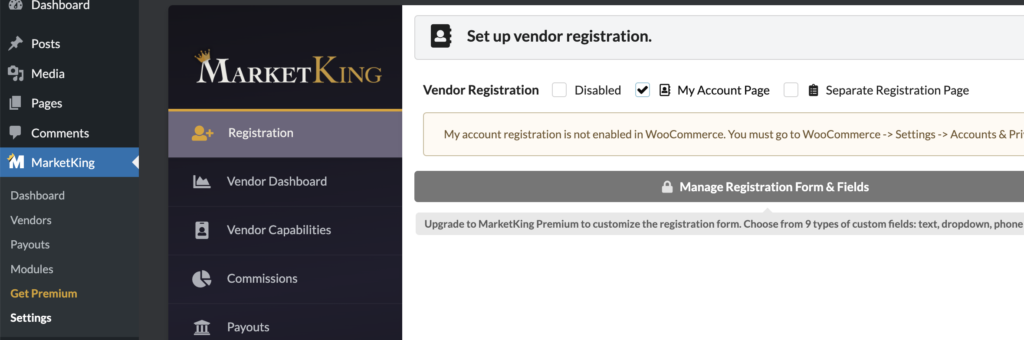
If you choose 'Separate Registration Page', there is a default 'Become a Vendor' page that you should use:

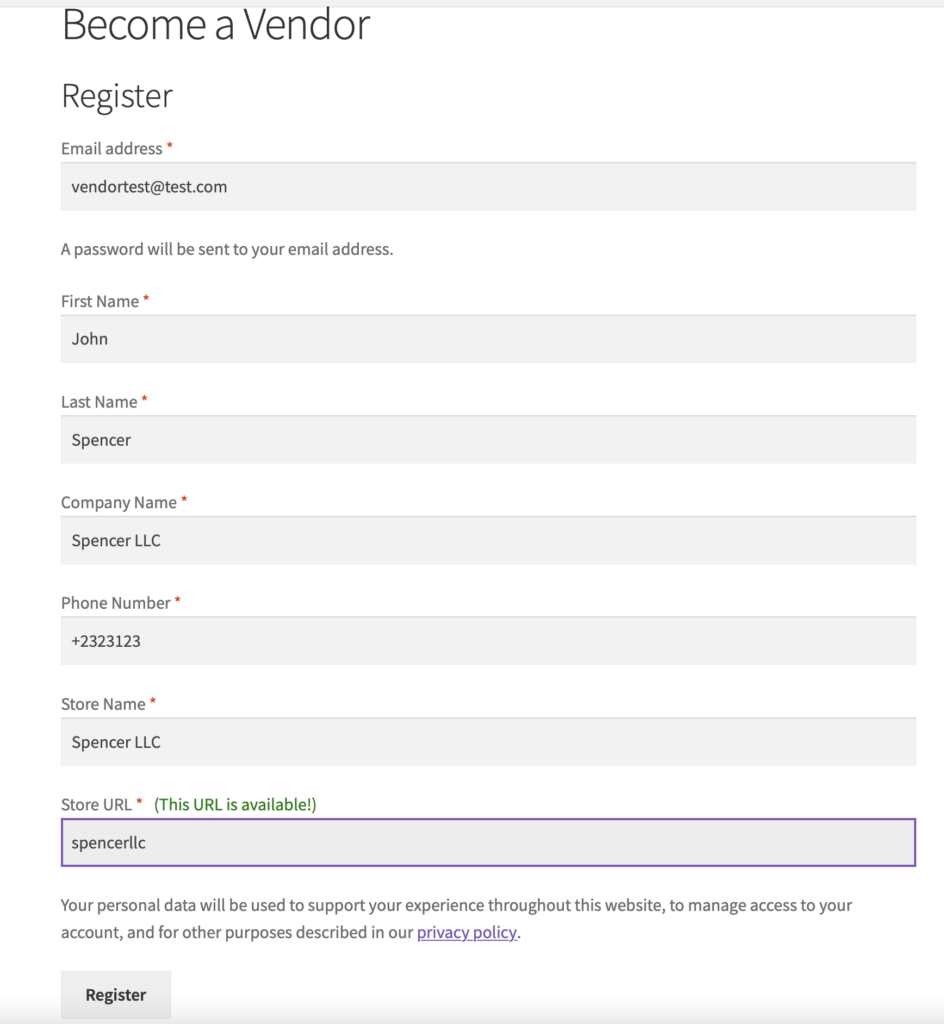
Let's save settings, and now you will find a dedicated 'Become a Vendor' page has appeared on your site frontend.
Let's try to fill it and register a test account:
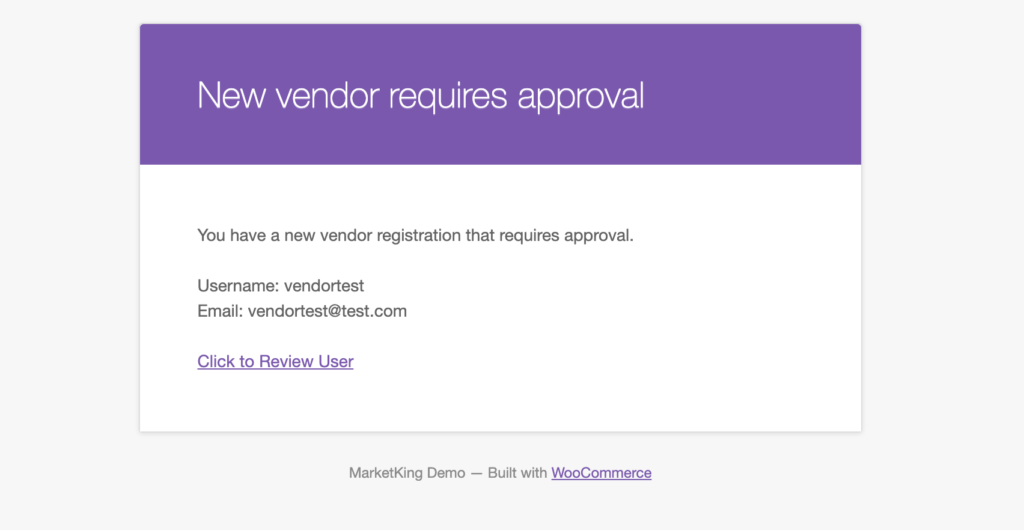
By default, accounts require manual approval, and users will see this message after applying for an account:

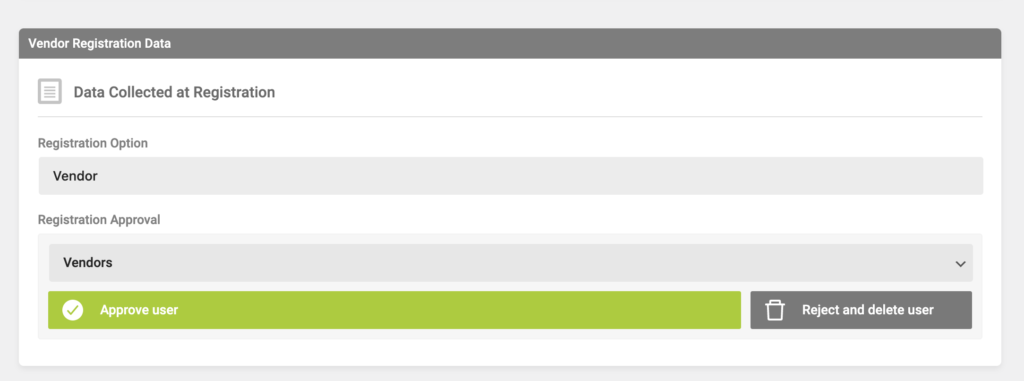
In the MarketKing -> Dashboard page, and via Email, you will be notified that a new vendor is now pending approval.
Going to their user profile page, you can review their details and you now have the option to approve or reject their account:
Step 2.1 (optional): Enabling automatic vendor approval
(this requires MarketKing Pro)
You may not want to manually have to approve each account. You can also approve accounts automatically, by going to MarketKing -> Registration -> Manage Registration Options
Here you can edit the 'Vendor' option and choose 'Automatic Approval':
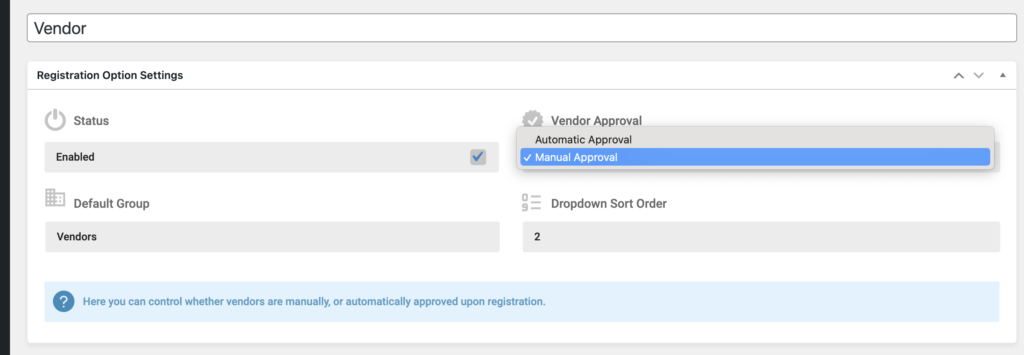
You also need to choose a 'Default Group'. This is the group that vendors are assigned to after they are automatically approved.
Step 2.2 (optional): Configuring Registration Options and Fields
(this requires MarketKing Pro)
By default, there is only a single 'Vendor' option during registration. You can create multiple options via MarketKing -> Registration -> Manage Registration Options. For example you could have 2 different options: "Regular Vendor" and "VIP", each going to different Vendor Groups, with different features and conditions available.
To add / edit / delete registration fields, go to MarketKing -> Registration -> Manage Registration Fields.
Here you can add text, text area, number, phone, file, checkbox, select, date fields and you can even add a VAT ID field that automatically verifies vendor's EU VAT numbers via the VIES system, and only allows companies with a valid VAT to register.

For more information on registration, we recommend you check out the Vendor Registration article.
Step 3) Important Settings to Configure
Let's now go to MarketKing -> Settings and look at some of the main settings you should configure:
- Choose a Logo for the Vendor Dashboard - Replace MarketKing Logo
In MarketKing -> Settings -> Vendor Dashboard, click on 'Select Image':
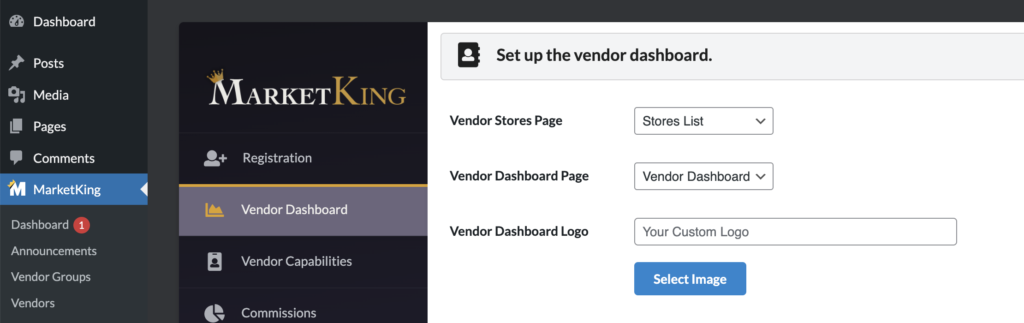
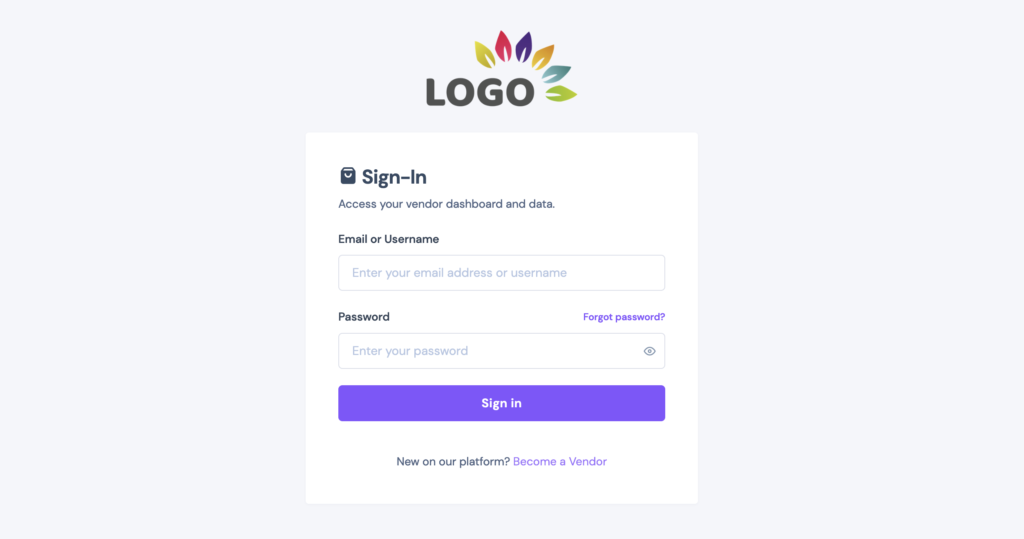
After choosing an image, you can now save settings, and your new logo will show on the dashboard login page and in the corner of the dashboard once logged in.
- Change Dashboard Color Scheme
You may want to change the color scheme to match your brand's colors. To do this, go to MarketKing -> Settings -> Color Scheme and choose new color options:
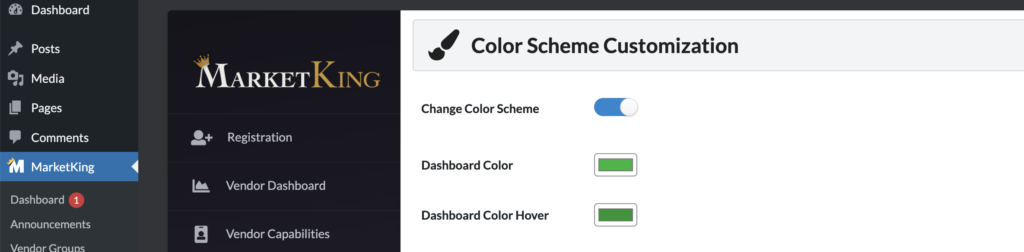
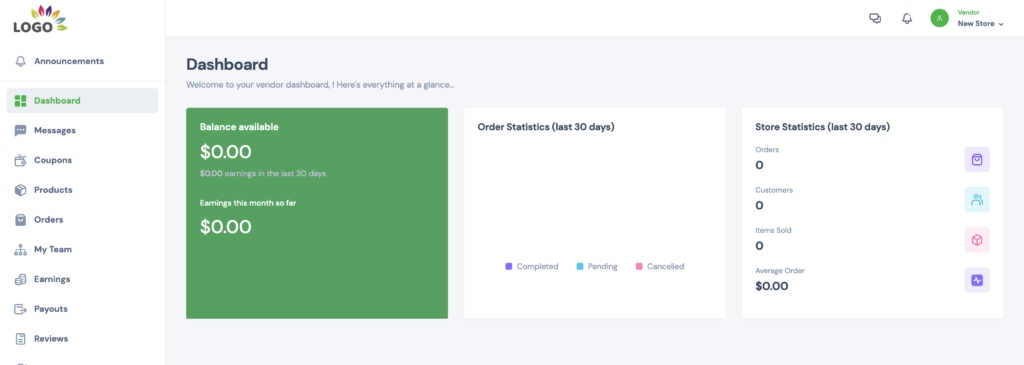
You can now see the effects:

- Choose a Store Page Style
In MarketKing -> Settings -> Appearance, you can choose between 3 styles for vendor pages. What you choose will depend on your theme. For example the 'Dark' option will work better with some themes or will work better if your site predominantly uses dark colors.
- Choose a Cart Template
In MarketKing -> Settings -> Cart you can choose between the plugin's proprietary 'MarketKing Cart' and the default WooCommerce cart style:
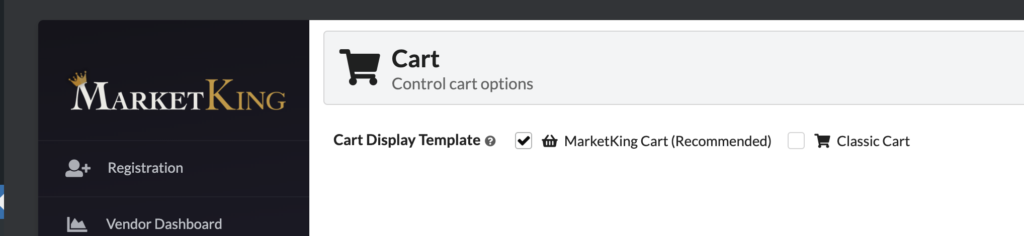
For more information on the 2 cart options, please see: Marketplace Cart Options
The MarketKing cart may not work or display well with all themes and configurations unfortunately, so in certain cases the Classic Cart will be a better choice.
- Configure Vendor Capabilities
Go to MarketKing -> Settings -> Vendor Capabilities and you will see the following options:
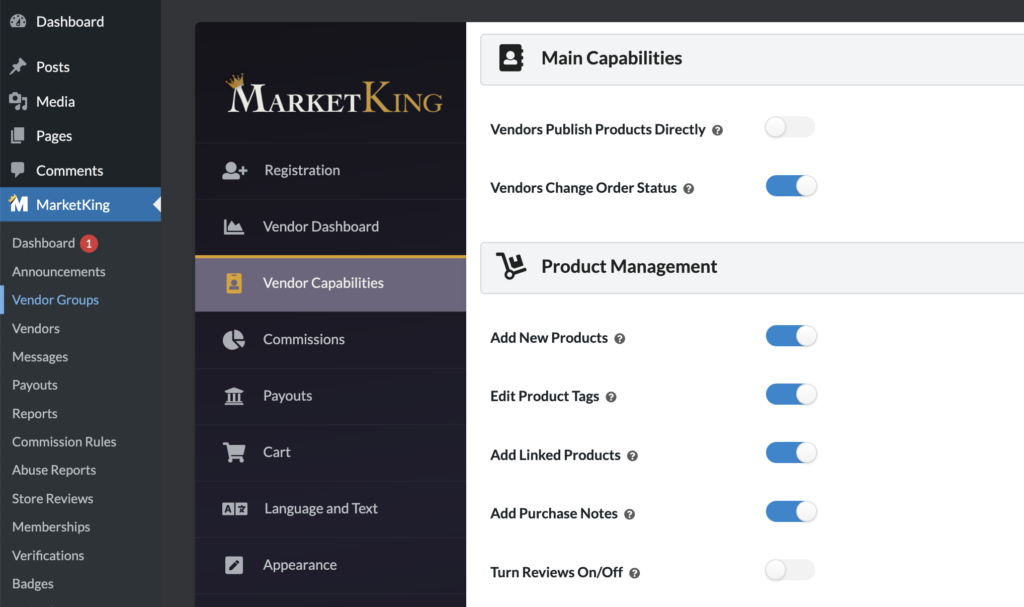
The most important options here are:
- Vendor Publish Products Directly - If this is enabled, vendors can simply publish products as they wish on the marketplace. If this is disabled, you will then manually have to review each product / each product change and decide if it's appropriate for the marketplace.
(this can also be set differently by group in MarketKing -> Groups - so for example you could enable it only for specific groups or vendors that you trust more).
- Vendors Change Order Status - If this is enabled, vendors can change the order status directly, for example setting an order to 'Completed'. This again has to do with vendor trust. When an order is marked as completed, the commission for that order is released into the vendor's balance - it's a sign that the customer has received the order and everything is fine.
You could disable this setting and first manually confirm with customers that they did indeed receive their orders as expected and everything went well.
(you may want to enable this by group, for only vendors that you trust or have experience working with).
- Add New Products - This should usually be enabled, it controls whether the vendor can create new products or not. If this is disabled, you could manually add products for vendors, or they could use the 'add to my store' button to only sell products that already exist on the site.
Step 4) Configuring Vendor Groups
Go to MarketKing -> Vendor Groups and here you will have 2 main options: vendor groups, and group rules:
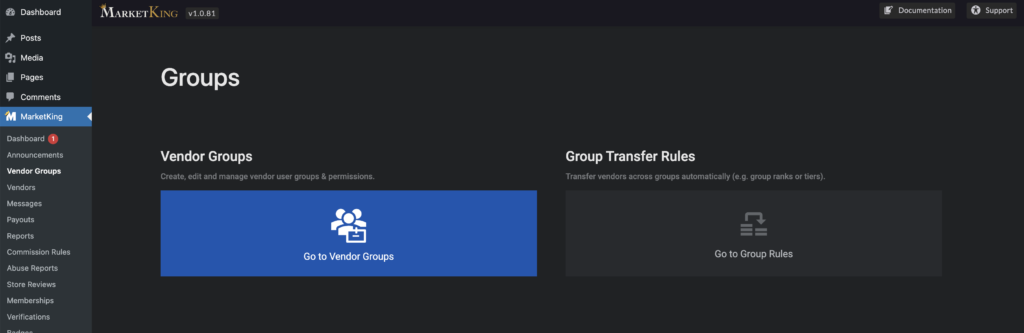
Vendor Groups allow you to set different permissions and limits for vendors that belong to that group. For example you can have a group that can publish maximum 100 products, and a group that can publish unlimited numbers of products. Or a group has access to the SEO feature, another group does not.
Group Rules allow automatic transfers between groups. For example the group 'VIP' has a certain 'VIP' badge associated with it. You can configure a group rule so that vendors automatically go to the VIP group when they hit $1M in sales, thus automatically earning that badge.
Or for example you can have 2 groups, one with 20% commission, and one with 10%. You can have a rule that automatically moves the user from the 20% to the 10% group when they hit $100K in sales.
Now let's look at a vendor group:
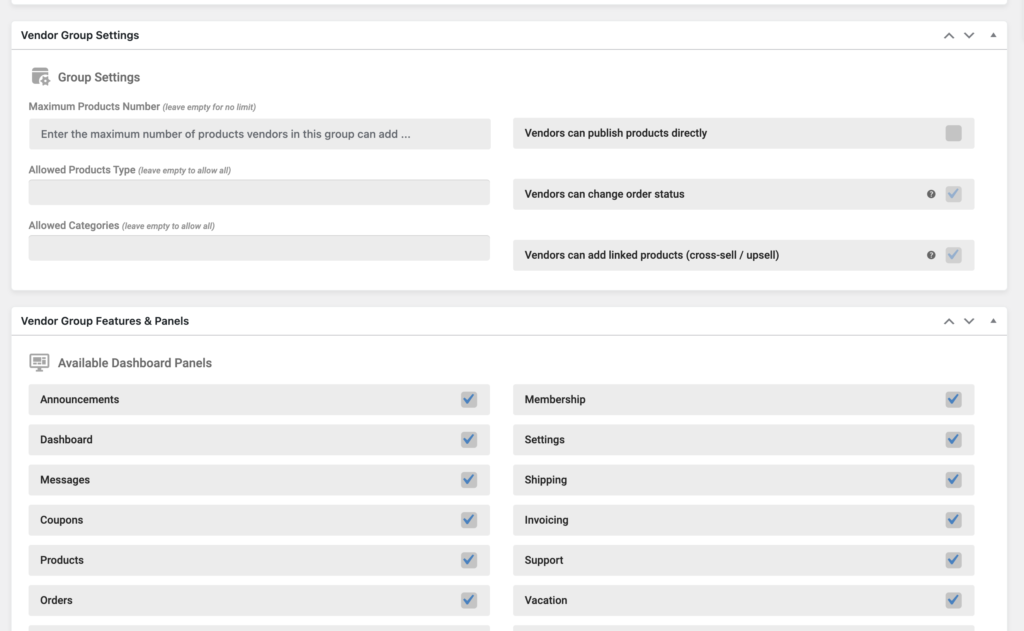
As visible in the above image, you can configure the maximum number of products vendors in that group can upload, what types of products they can upload, what categories they are allowed to upload to, etc.
You can also choose which features (panels) they have access to. For example you can have multiple membership options, and depending on what option they choose, you can have different features available for them.
(Optional) Configuring a Digital Marketplace
At the bottom of a vendor group panel you can find Advanced Settings.
If you're running a digital marketplace, you will want to enable the following 2 settings:
- All products are virtual (no shipping)
- All products are downloadable (digital)

This will force all products to follow this configuration.
For more info on groups, we recommend you check out the Groups & Memberships article.
Step 5) Choosing Modules
Now let's head to MarketKing -> Modules
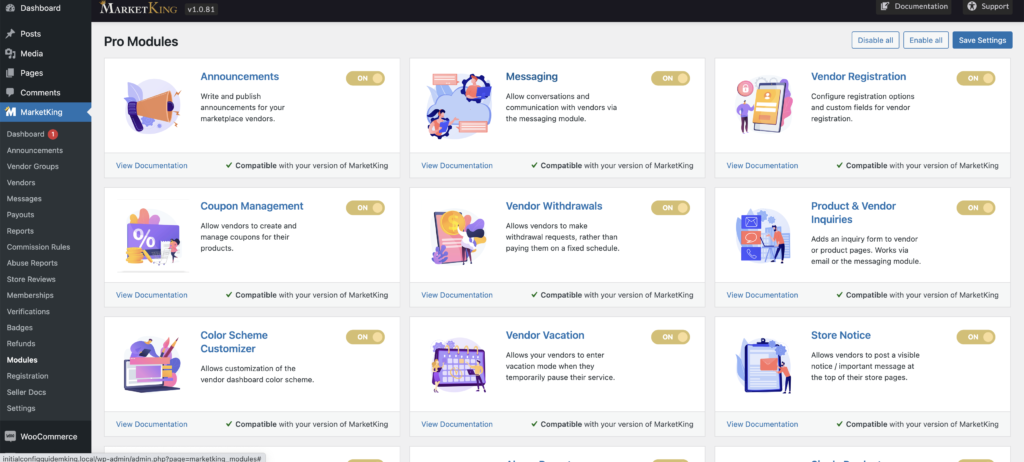
Each plugin module is a feature. Here you should enable or disable features, depending on whether your project needs them or not. This depends entirely on your needs.
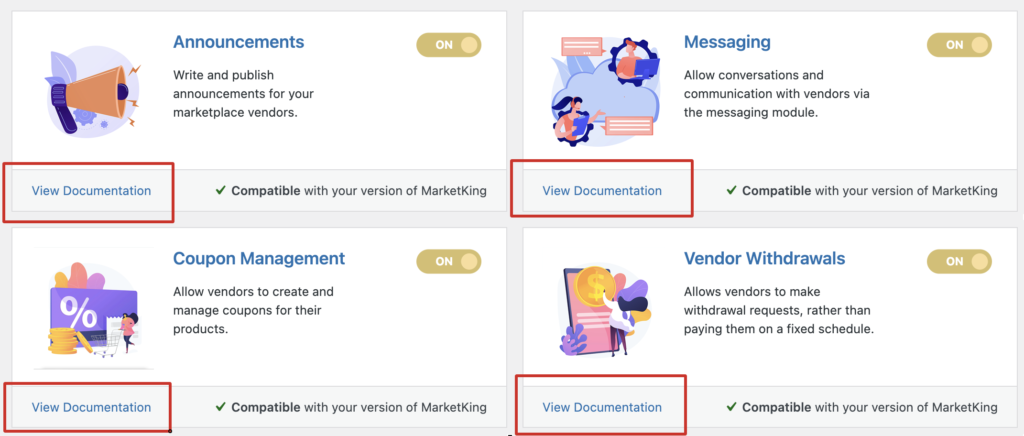
If you enable a particular feature or want more information on how that feature works, we recommend you visit its dedicated documentation page. To do that, you can click on 'View Documentation':
Step 6) Commissions Setup
There are 2 main ways to set up commission: a simple way, and an advanced way with more options. If you prefer the simple way, you must DISABLE the 'Complex Commissions' module first:

Then go to MarketKing -> Settings -> Commissions, where you can configure 5 simple settings:
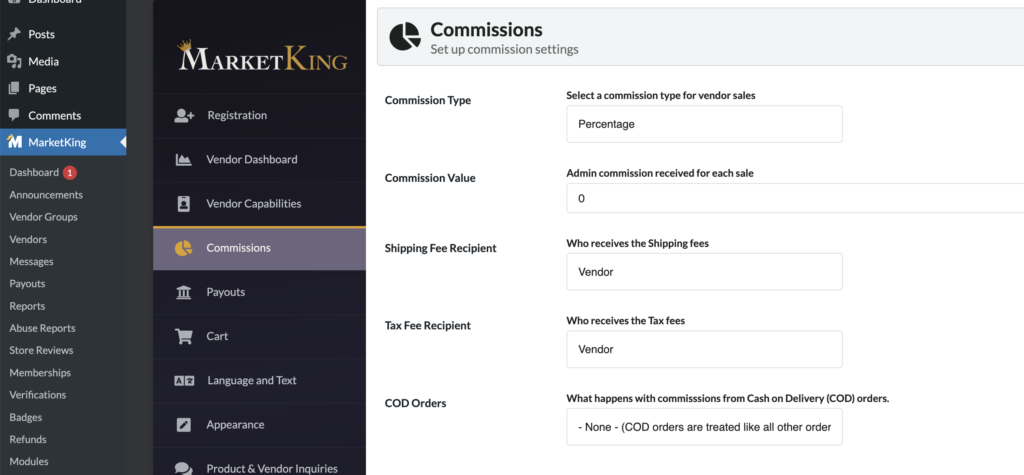
For example if you choose Percentage and '10', then the admin will receive 10% for each transaction on the marketplace.
If you prefer to use the 'Complex Commissions' module, then you can configure this in more detail, for example by setting commissions by group, or by product, or combined percentage and flat commissions.
For more information on setting up commissions, please see the Commission Setup article.
Step 7) Configure Payout and Withdrawal options
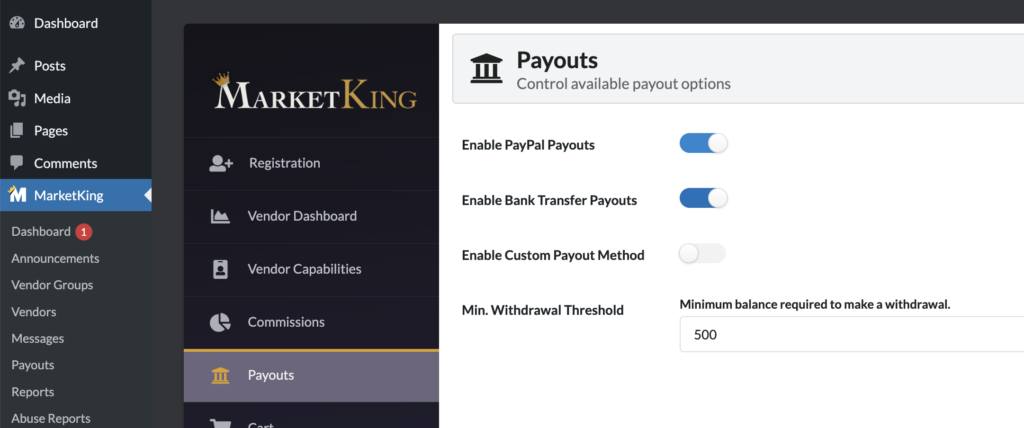
In MarketKing -> Settings -> Payouts you can enable payout methods. Vendors will choose one of these methods via their vendor dashboard, letting you know this is how they prefer to be paid + their payment details.
For more info, see Vendor Payouts and Vendor Withdrawals.
Final Words
Depending on which modules and features you're using, there are a lot more configuration options. Please check the main documentation page, as each feature has its own dedicated article where you can learn a lot more about how it works.
If you can't find the answer to a specific question, please contact our support team.