
Update: August 18th, 2022 - Stripe Connect Integration
MarketKing 1.2.0 introduced an automatic integration with Stripe. Through this integration, vendors receive their commission automatically, with no admin involvement.
When the Stripe Connect module is used, there is no need for Payouts, as vendors get paid instantly when orders are placed. While vendors' earnings and charts will display normally, Payouts are not needed, and the Payouts module can be disabled if preferred.
To read more about the Stripe integration, click below:
Payouts Continued
As vendors sell products and earn commissions, their account balance increases and becomes available for payouts.
When non-adaptive payment gateways are used, MarketKing does not handle actual money or execute real-world money transfers. However, the plugin provides a payouts interface that allows vendors to view payouts, balances, and payout history, and also allows the admin or shop manager to keep track of payments and notify vendors.
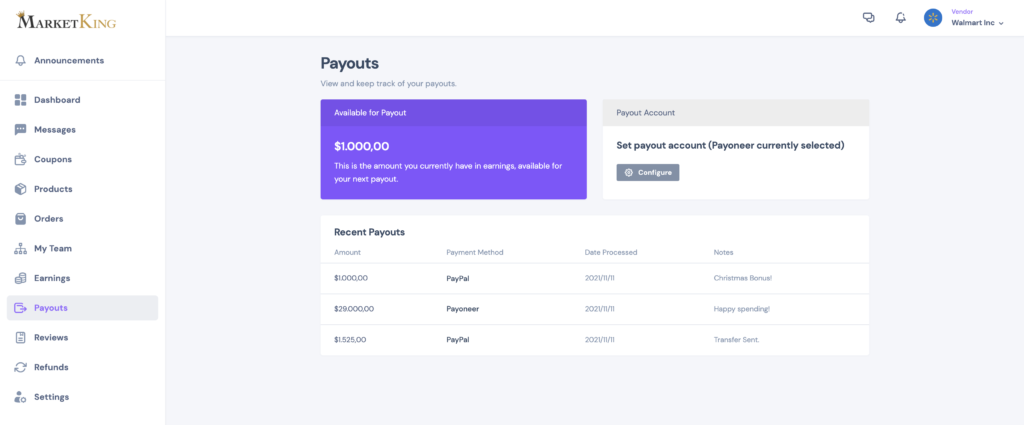
Each vendor can configure a payout method in their vendor dashboard under Payouts, using the "Set payout account" button and popup.
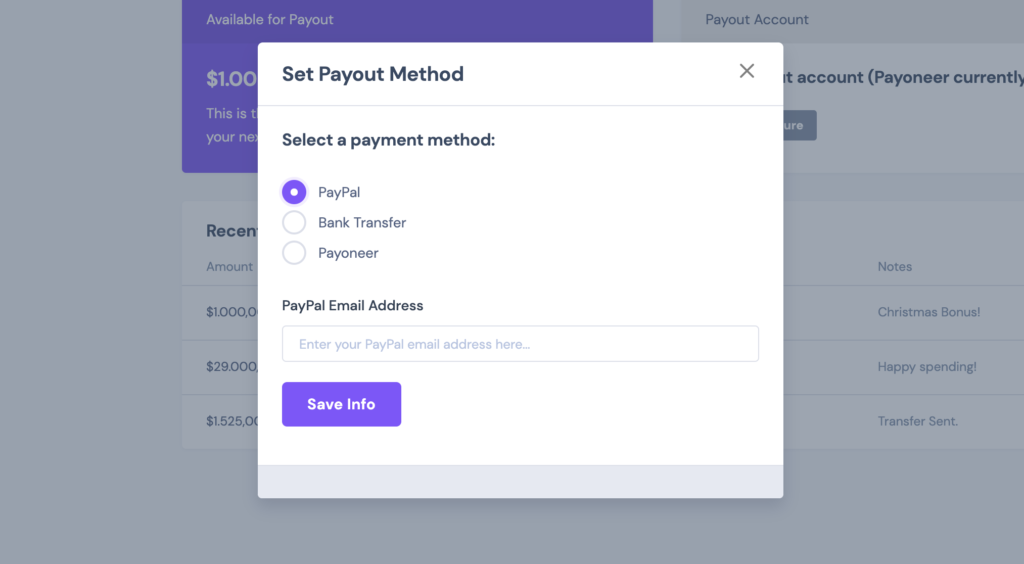
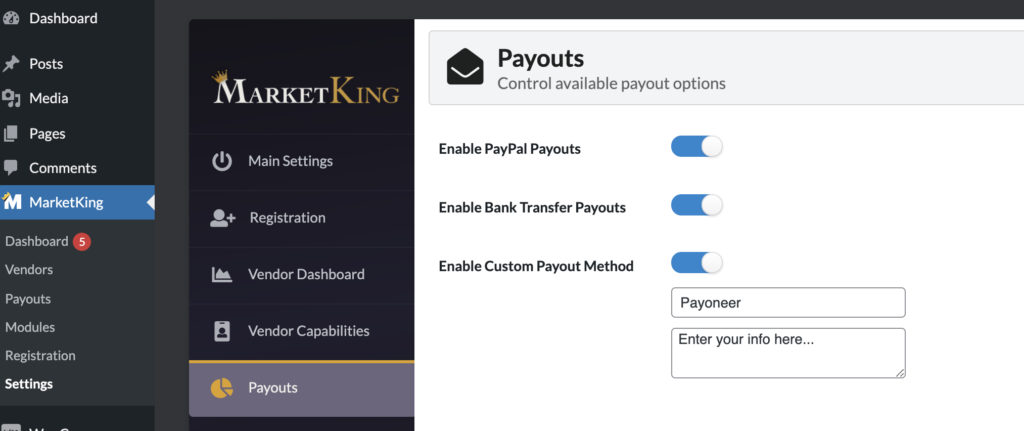
The options available here are those the admin configures in MarketKing -> Settings -> Payouts. Here the admin can choose from existing methods (PayPal and Bank Transfer) or configure a custom method (Payoneer in the screenshot below, but you can enter any information there):
In the backend, the admin can go to MarketKing -> Payouts and choose a vendor. At the top of the page, they can view the selected payout method and the details entered by the vendor.
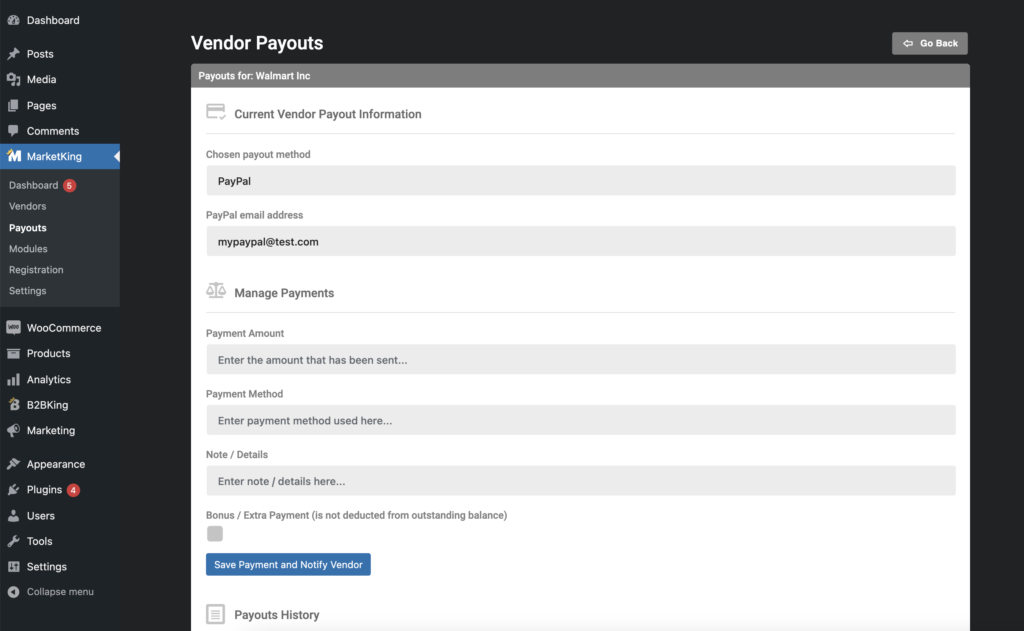
Once the admin has made a payment offline or by any other means (bank transfer, PayPal transfer, etc.), they can go to the above page to enter this payment into the plugin, which will notify the vendor and add the payment to the plugin's history record.
The admin can enter the amount, a payment method, and a note or payment details.
There is also a "Bonus / Extra Payment" checkbox. Checking this indicates that the amount sent was a bonus and will not be deducted from the vendor's balance. For example, if the vendor has $1000 available, after sending a $200 bonus payment, they will still have $1000, instead of $800 as they would normally.
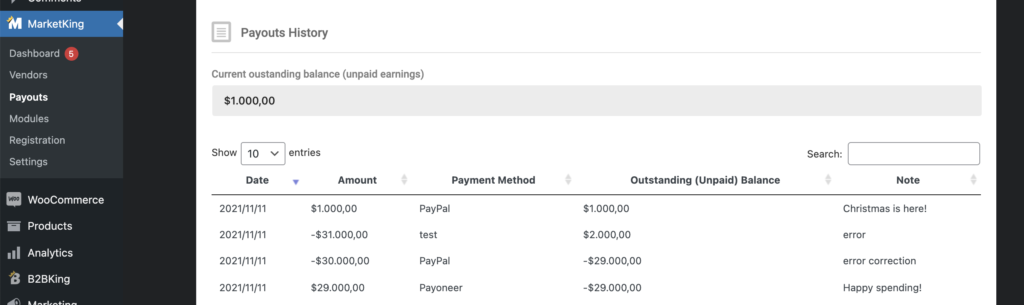
Error Correction - If you made an error (e.g. wrong amount), this can be rectified by entering a negative or positive amount and creating a new payment. For example, if you accidentally entered $100 extra, you can then immediately enter a -100 payment with the note "sorry! wrong value in the last entry". This will correct the balance and resolve the issue.
Finally, by scrolling down to the bottom of the page, you will find the vendor's available balance and their payout history:
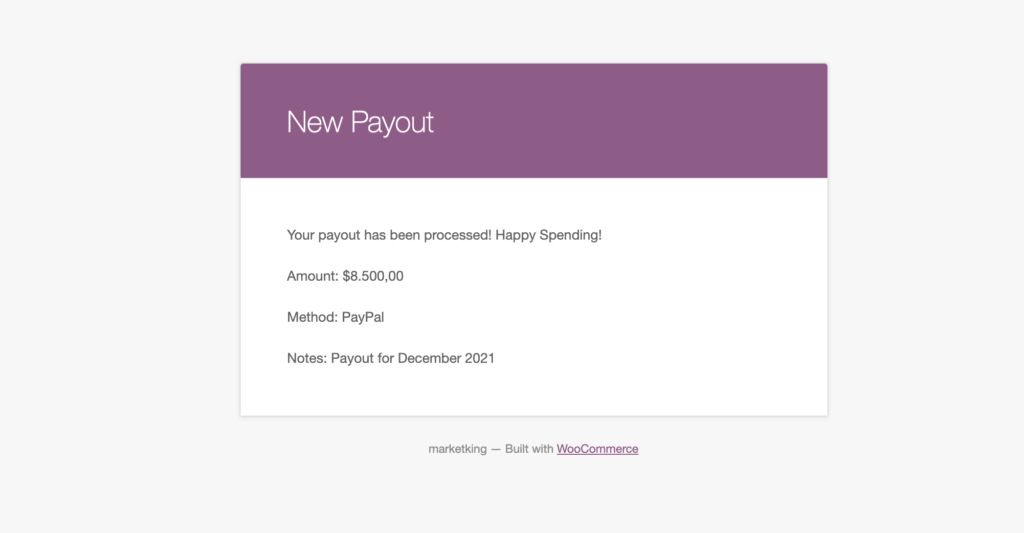
After a payout has been sent, the vendor is automatically notified via email:
Withdrawal Requests
You can either pay your vendors on a fixed schedule (e.g. every month on the 10th) or choose to enable the "Vendor Withdrawals" module. With that module enabled, vendors have an additional button where they can submit withdrawal requests, and you can also configure a withdrawal threshold.
Read more about this in the Vendor Withdrawals documentation.
Vendor Balance History & Manual Adjustments
Besides the payout history explained above, MarketKing tracks every single change to the vendor's balance, so you can always check how the current balance was reached and make sure the numbers add up. It also gives you the option to make manual adjustments for any reason. This section can be found under the payout history table, in the same panel.
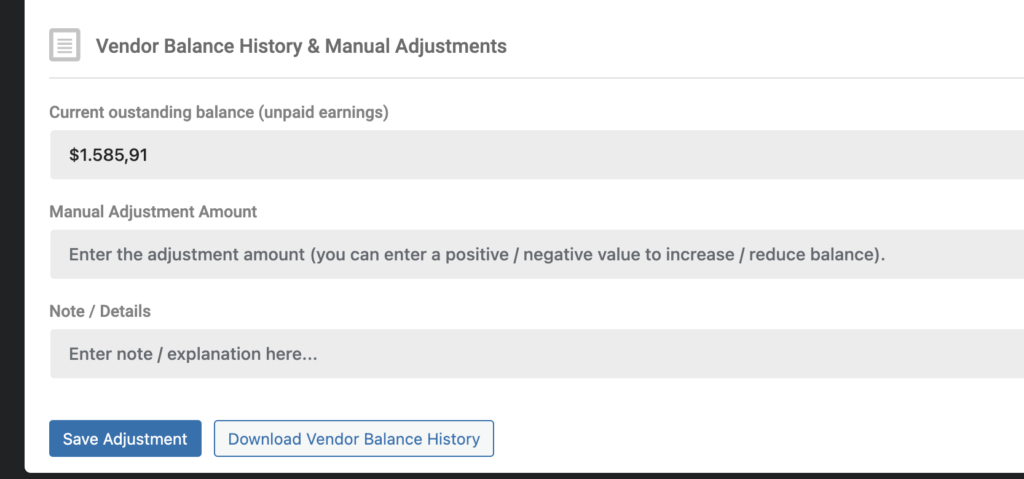
When the "Download Vendor Balance History" button is clicked, a CSV of this balance history will be downloaded. Here's what that looks like:

As you can see, every single change is tracked, including payouts and changes that occur when an order status is updated.
To make a manual adjustment, simply enter the adjustment amount and a note or explanation for the adjustment, then click "save adjustment". This will modify the balance and record your modification in the balance history.