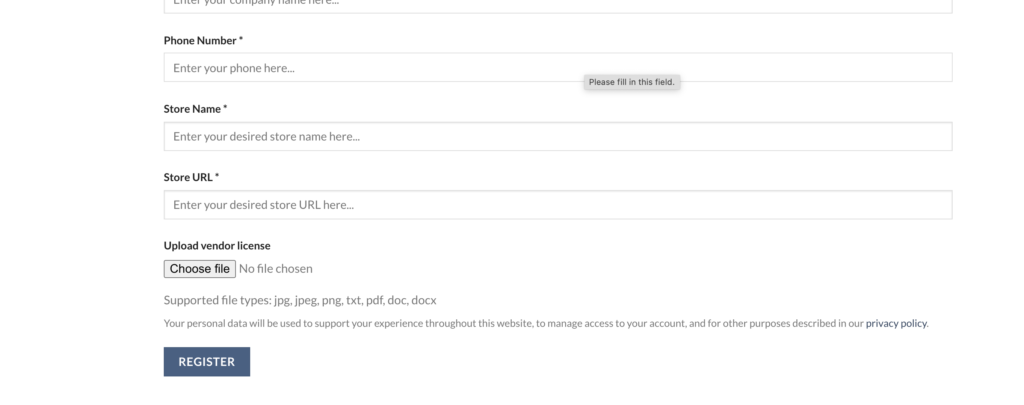
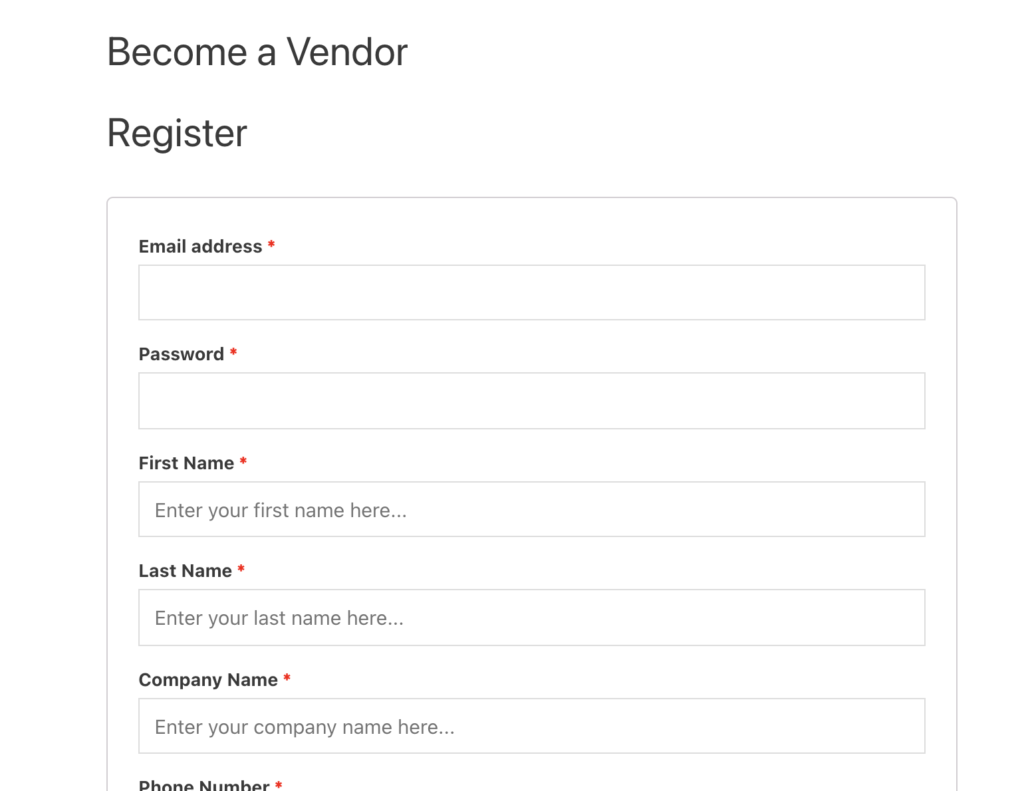
MarketKing comes with a built-in, powerful, and easy-to-configure vendor registration system. All of it can be configured in the backend, via MarketKing -> Settings -> Registration.
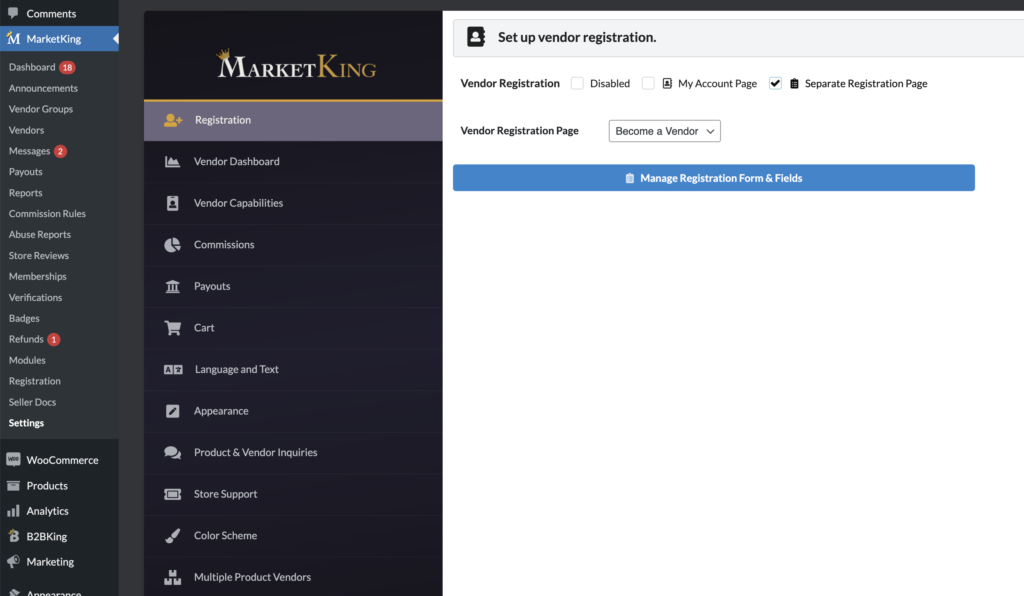
The 3 main options available are:
- Disabled - disables MarketKing vendor registration and you would handle it offline or by other means
- My Account Page - adds the vendor registration form to the My Account page
- Separate Registration Page - adds the vendor registration form to any page that you choose
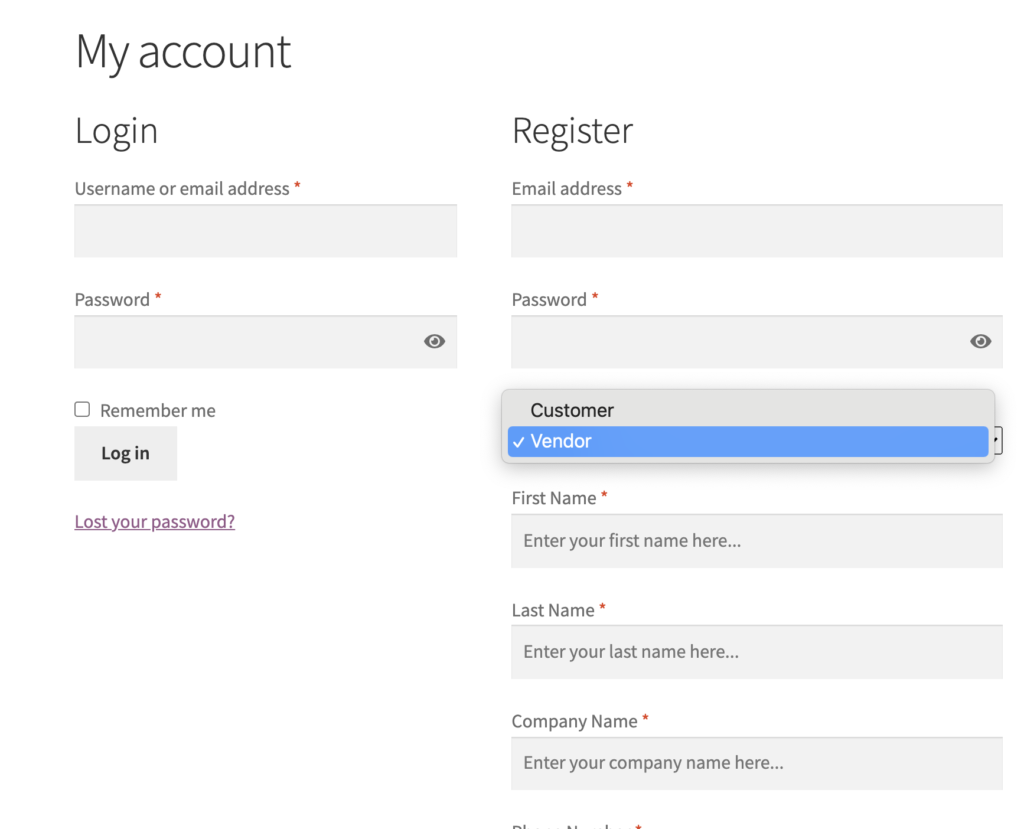
My Account Page Registration
If you choose the my account option, you will see a dropdown added under registration, that gives the user a choice between Customer and Vendor. The vendor option options up additional fields. These fields are fixed in the free MarketKing version, but fully configurable in the paid version via the Registration module.
The plugin will also ask the user to enter a store name and URL, and will make sure it is a unique URL.
MarketKing Registration Module
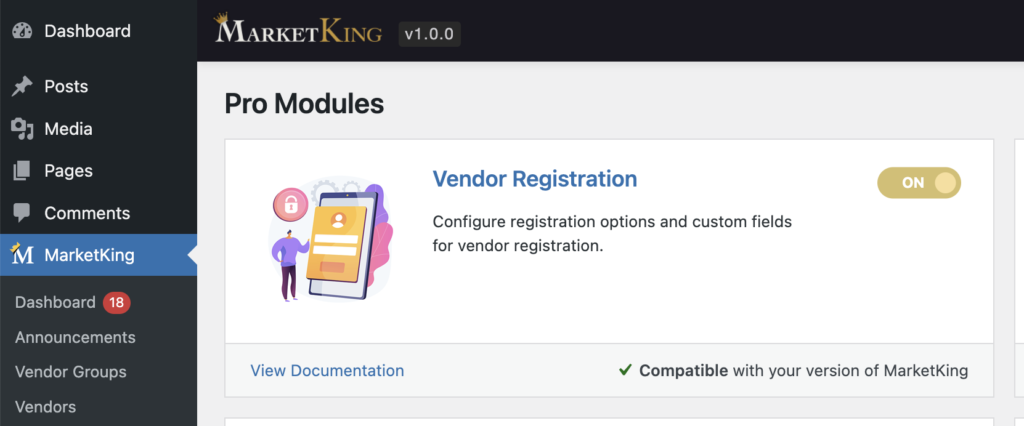
The registration module can be enabled via MarketKing -> Modules -> Vendor Registration.
Separate Registration Page
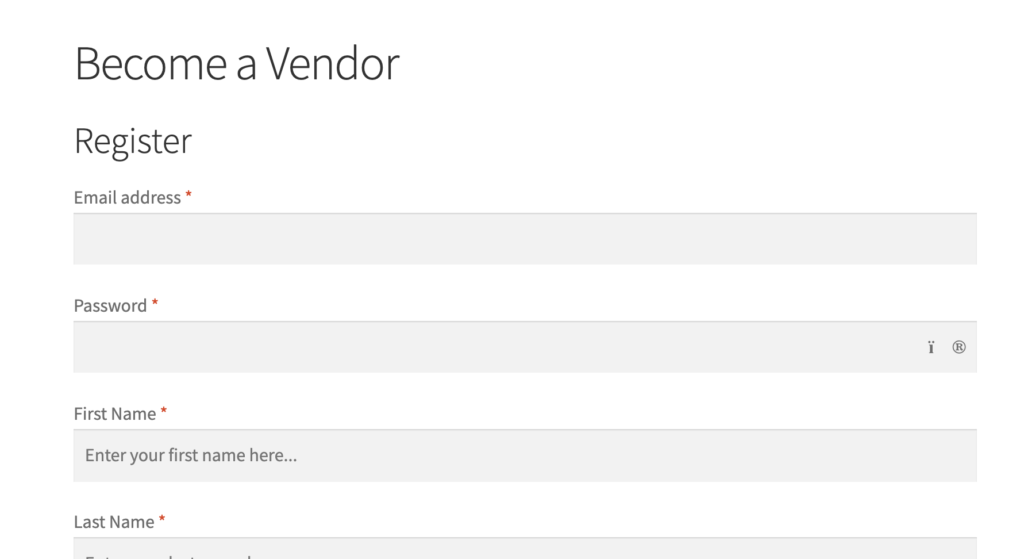
If you choose a separate registration page, the plugin will automatically set up a "Become a Vendor" page (can be edited):
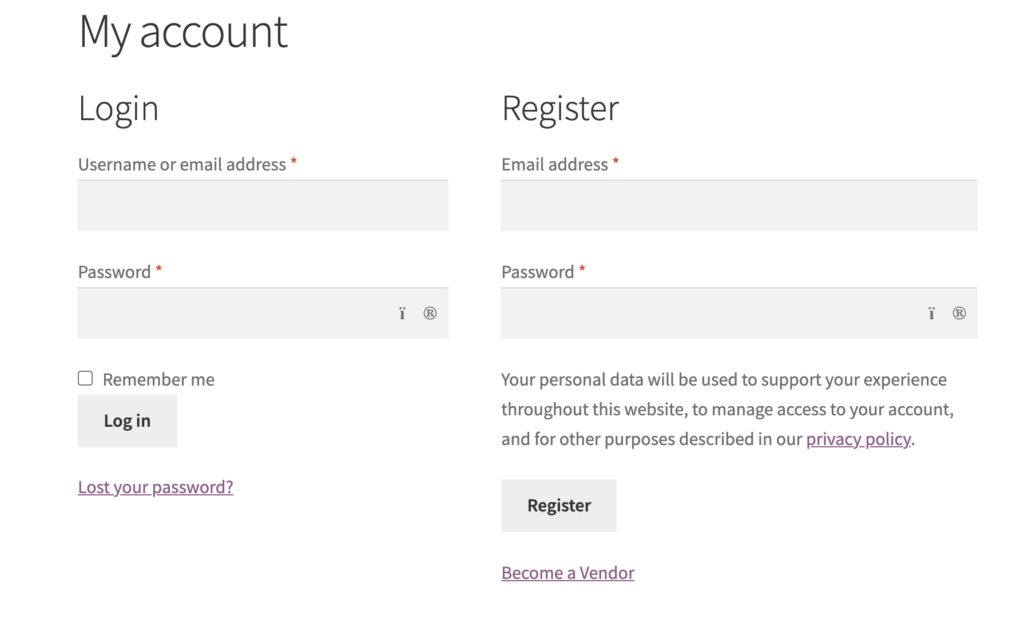
In My Account, a "Become a vendor" link to this page is added below the registration form:
Registration Review and Approval
By default, a vendor registration is subject to manual review and approval. After a user registers to become a vendor, they will see a message asking them to wait for manual approval.
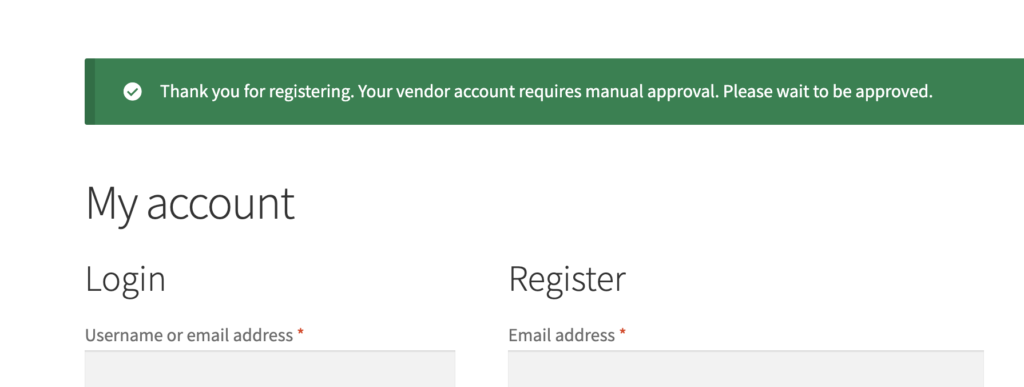
While the vendor's account is under review, they cannot login yet, and will see an error if they try to login.

The vendor also receives an email, but the email contains a notification letting them know the account is subject to manual approval:
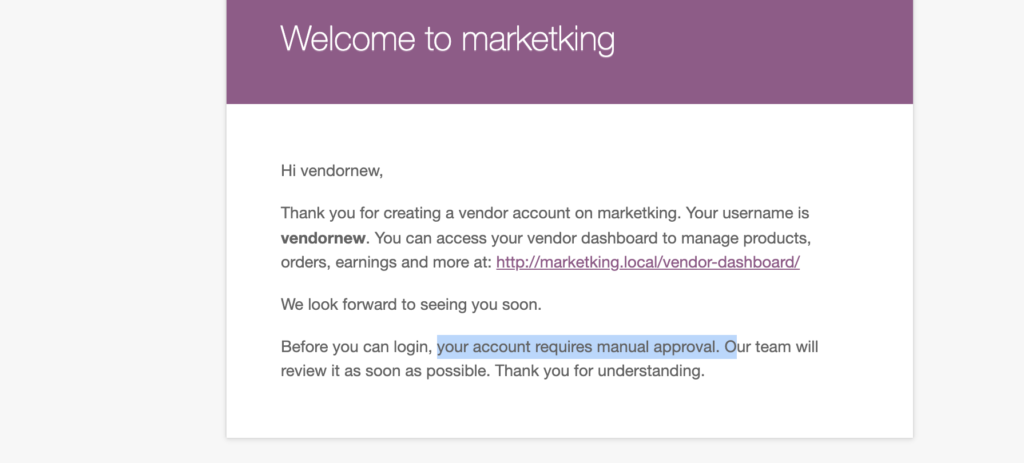
Now a notification about this registration is visible in the MarketKing admin dashboard:

The admin is also notified by email that a new vendor registration requires approval:
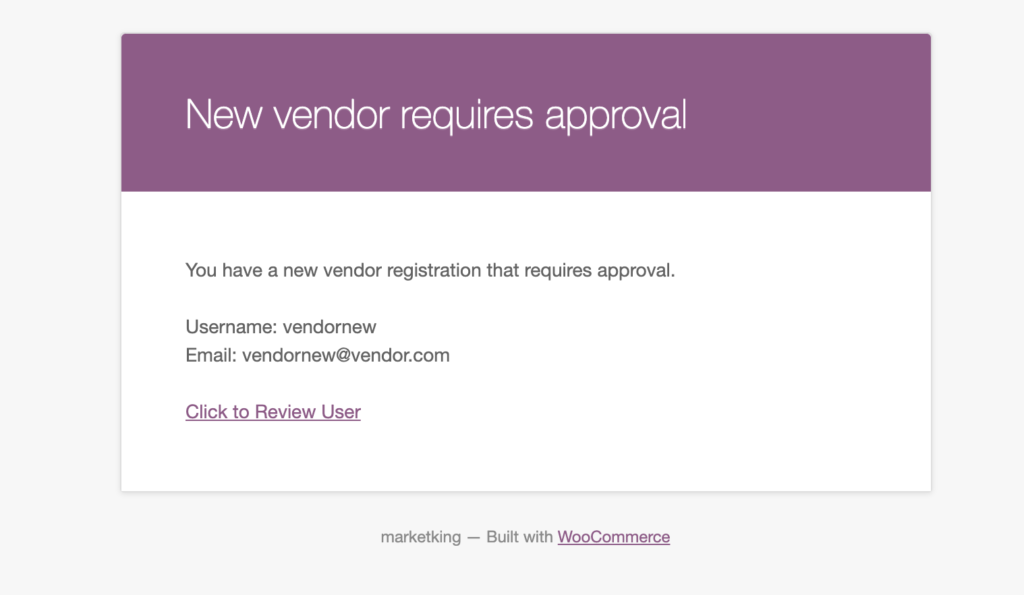
After clicking on "review user" the admin is taken to the user profile.
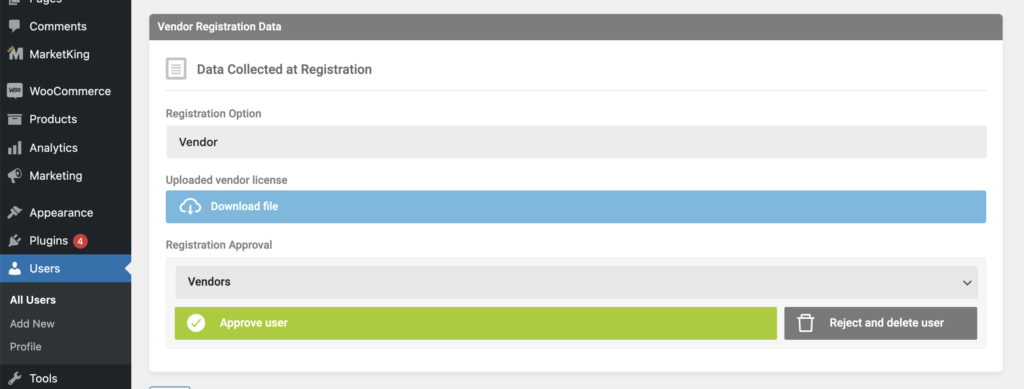
Here in the user profile page, the admin can view all information the user submitted, as well as download any files (e.g. in the above screenshot you can see a "vendor license" file).
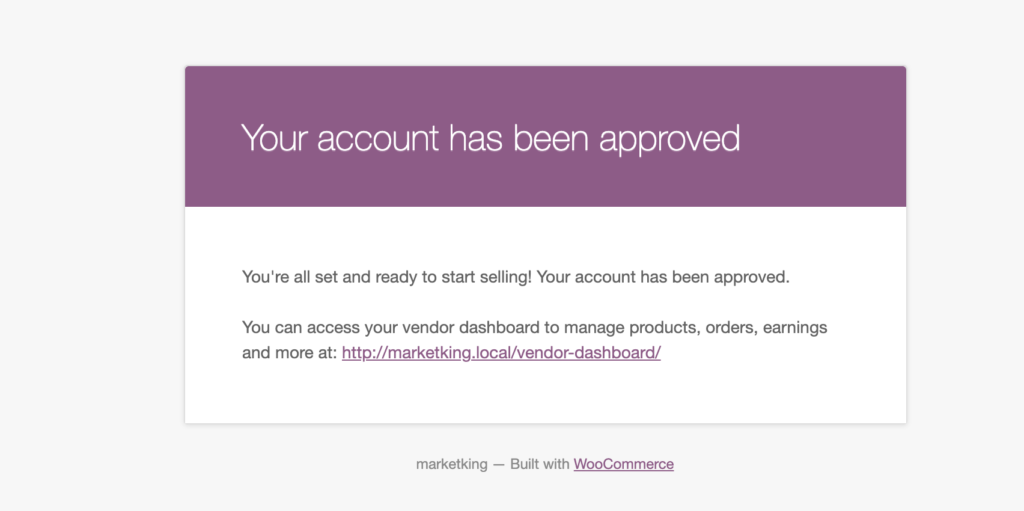
If the admin approves the registration, the vendor will receive a confirmation message:
MarketKing Core and MarketKing Pro Differences
In the free MarketKing core plugin (from WordPress.org), the registration form is fixed with predefined fields. In the Pro version, registration options and fields can be controlled when the Vendor Registration module is enabled.
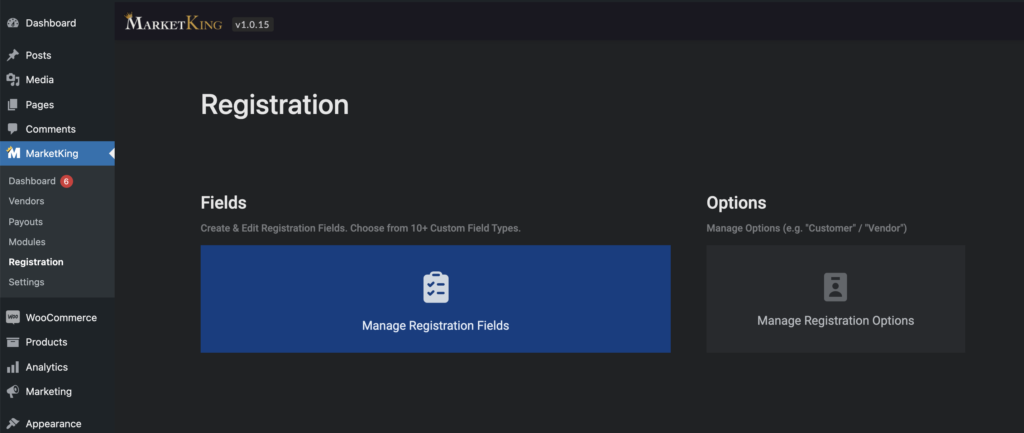
Via "Registration Options", you can set up more options besides "Vendor", and also choose whether these options should have manual, or automatic approval.
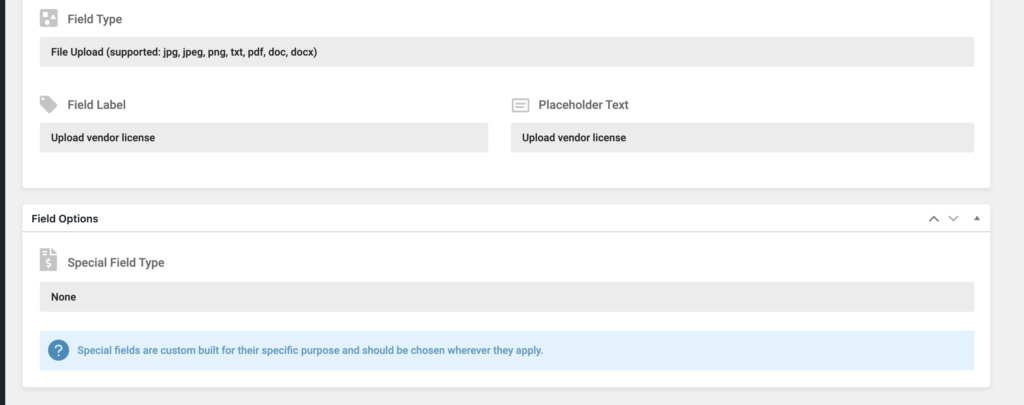
Via "Registration Fields" you can choose from 9 types of custom fields (dropdown, text, number, file upload, telephone, checkboxes, etc). This way you can completely customize the registration form and collect any data needed for your business. You can tie specific fields, to specific options - for example you can have a "Vendor EU" option where you request EU VAT NR, and a "Vendor NA" option where you request a "Business License".
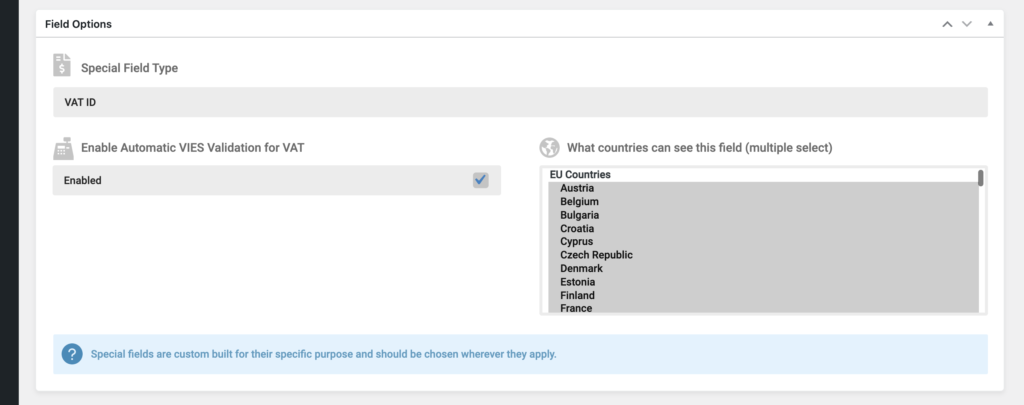
You can also choose the special "VAT ID" field, and optionally enable VIES VAT Validation (for EU countries). Through VIES validation, you can make sure only companies with a valid VAT number can register in your store.
Registration Form Design & Theme Compatibility
The registration form design follows the theme design. In the above screenshots, we are using the Storefront theme.
MarketKing is built to be compatible with any WooCommerce theme and has been tested with the most popular themes on the market today: Flatsome, WoodMart, Shopkeeper, Porto, XStore, The Retailer, Electro Electronics, Bazar Shop, MayaShop, Savoy, Neighbourhood, Basel, Blaszok, Atelier, Legenda, Mr. Tailor, Aurum, WooPress, WooStore, Divi, Avada, Uncode, Storefront etc.
For example, this is what the registration form will look like with other themes:
